The VAR system is gaining acceptance in sports like Football/Soccer to help referees to make decisions. VAR is essentially an instant video review system that can replay the immediate shot in slow motion and frame by frame scrubbing. This is different from electronic line-call technologies where the system itself attempts to make a definitive decision; e.g. IN or OUT. In VAR, the system does not attempt to decide on the outcome of a call and leave the decision to the umpire or referee. VAR and line-call technologies can be used separately or in combination depending on the specific rules of the sports in question.
In eyes3 terminology, VAR functionality is a subset of eyes3 ELC. eyes3 provides an App called eyes3 VAR is functionally a subset of eyes3 Electronic Line Call. If you are looking to use eyes3 Electronic Line Call, you should use the App called eyes3 instead.
To set up eyes3 VAR (Video Assisted Review):
- Launch eyes3 VAR function and choose CONTROL. Ensure the Upload to Cloud button is highlighted. Click History on the bottom tab and select a location for ‘Edge Server’ is closest to your current location. Selecting a close location will enable faster upload and download of all VAR videos during review. You should change this setting for all eyes3 CAMERAS and eyes3 CONTROL.
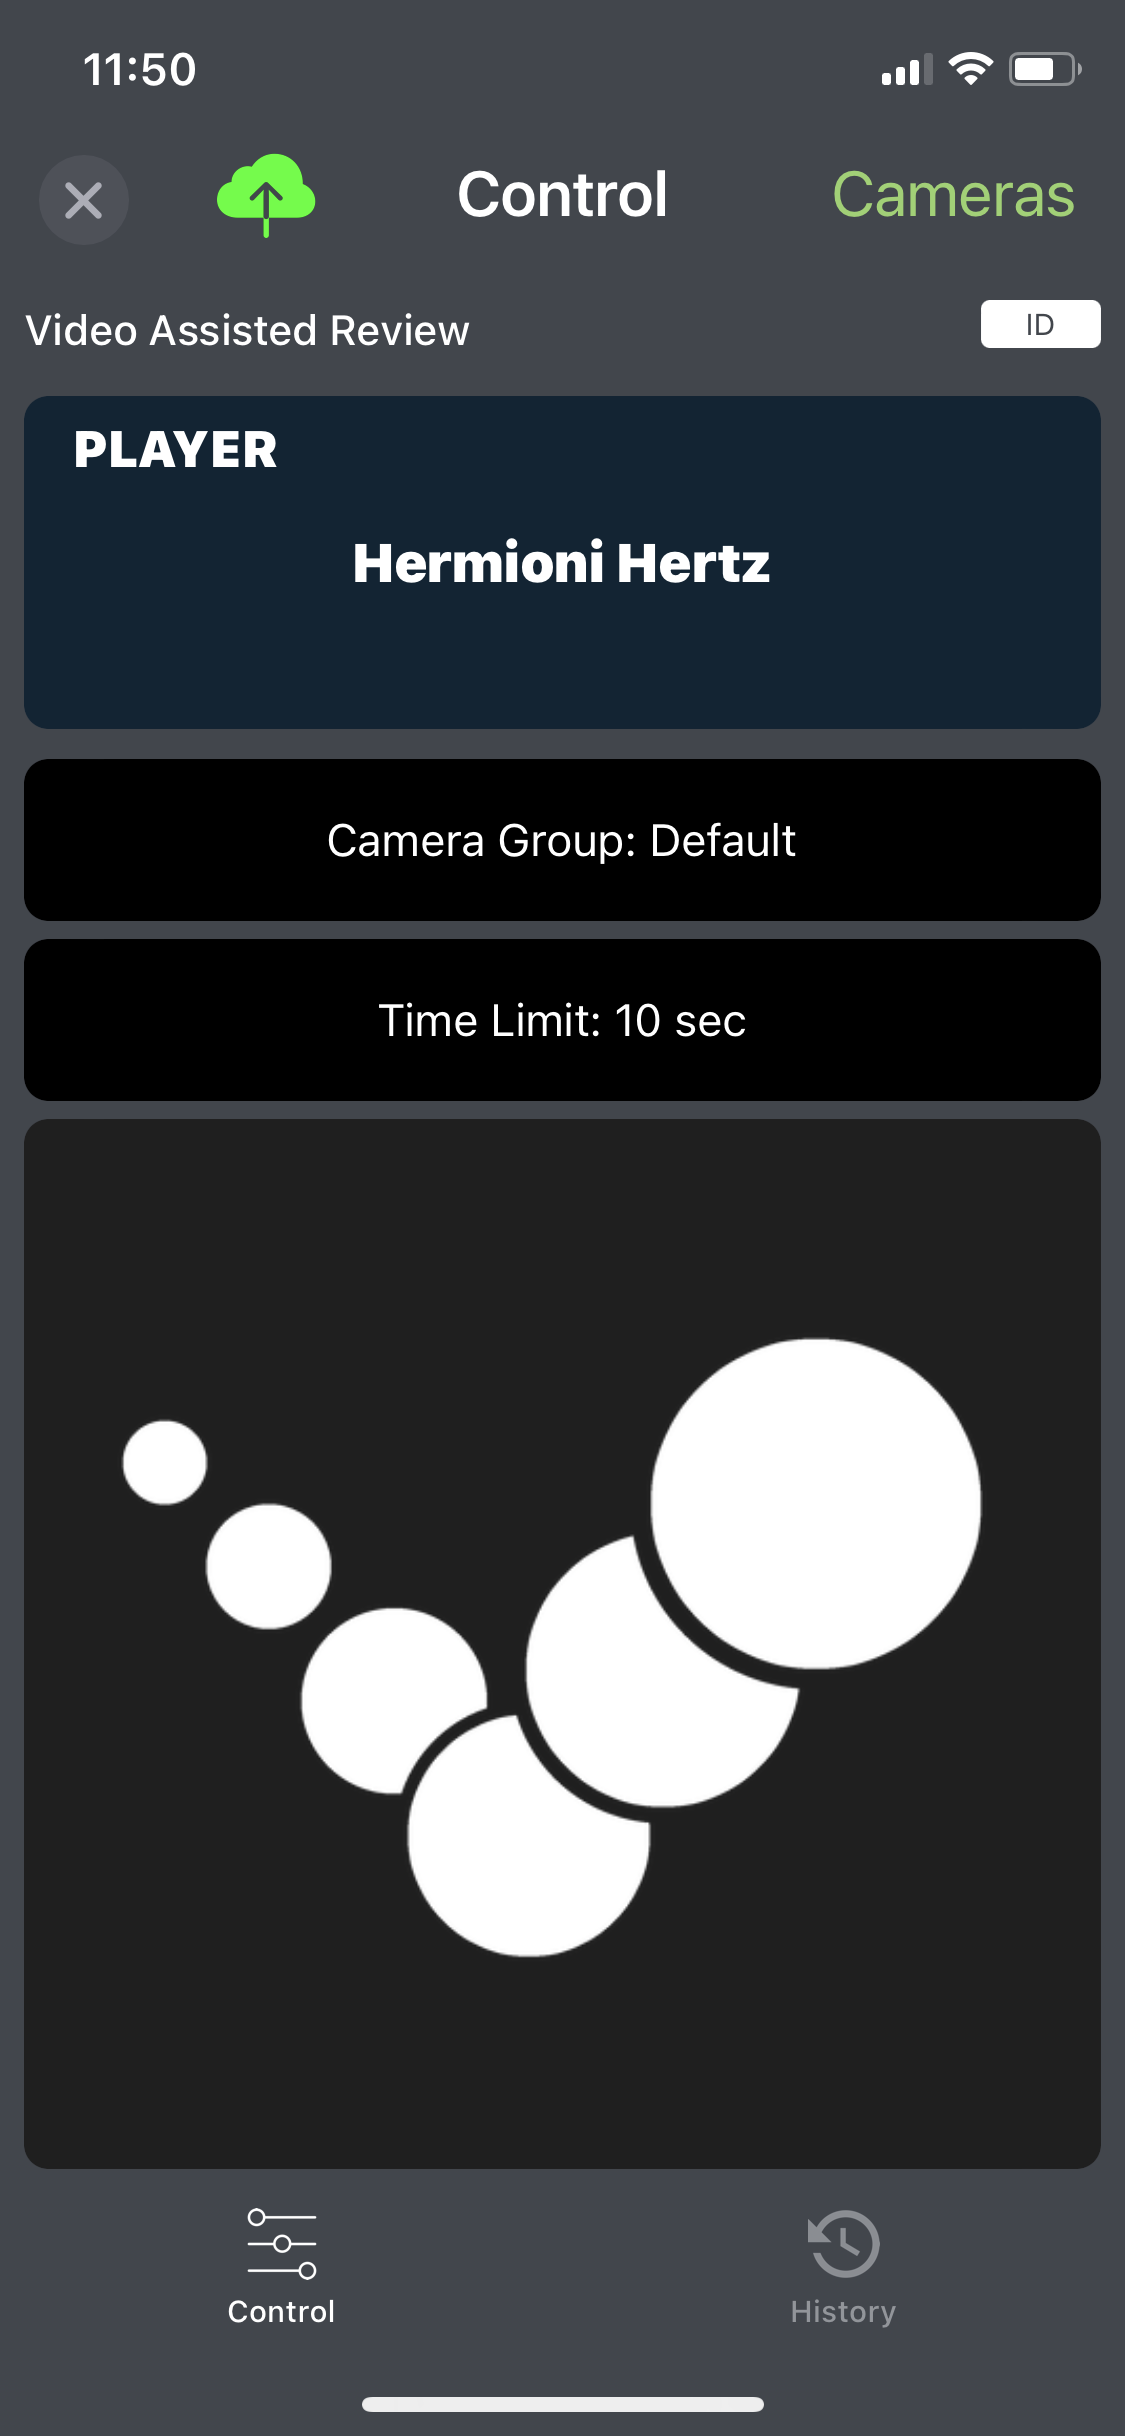
- eyes3 VAR transfers require the transfer of large videos files across the internet and will incur significant mobile charges if you are on a cellular network for the eyes3 CAMERAs and eyes3 CONTROL. Consider using a good performing Wifi network when using eyes3 VAR.
- Using a second phone, choose eyes3 VAR CAMERA and select the same Edge Server location as what you selected in above.
- Choose a Camera Placement. You can choose any number from 1-10.
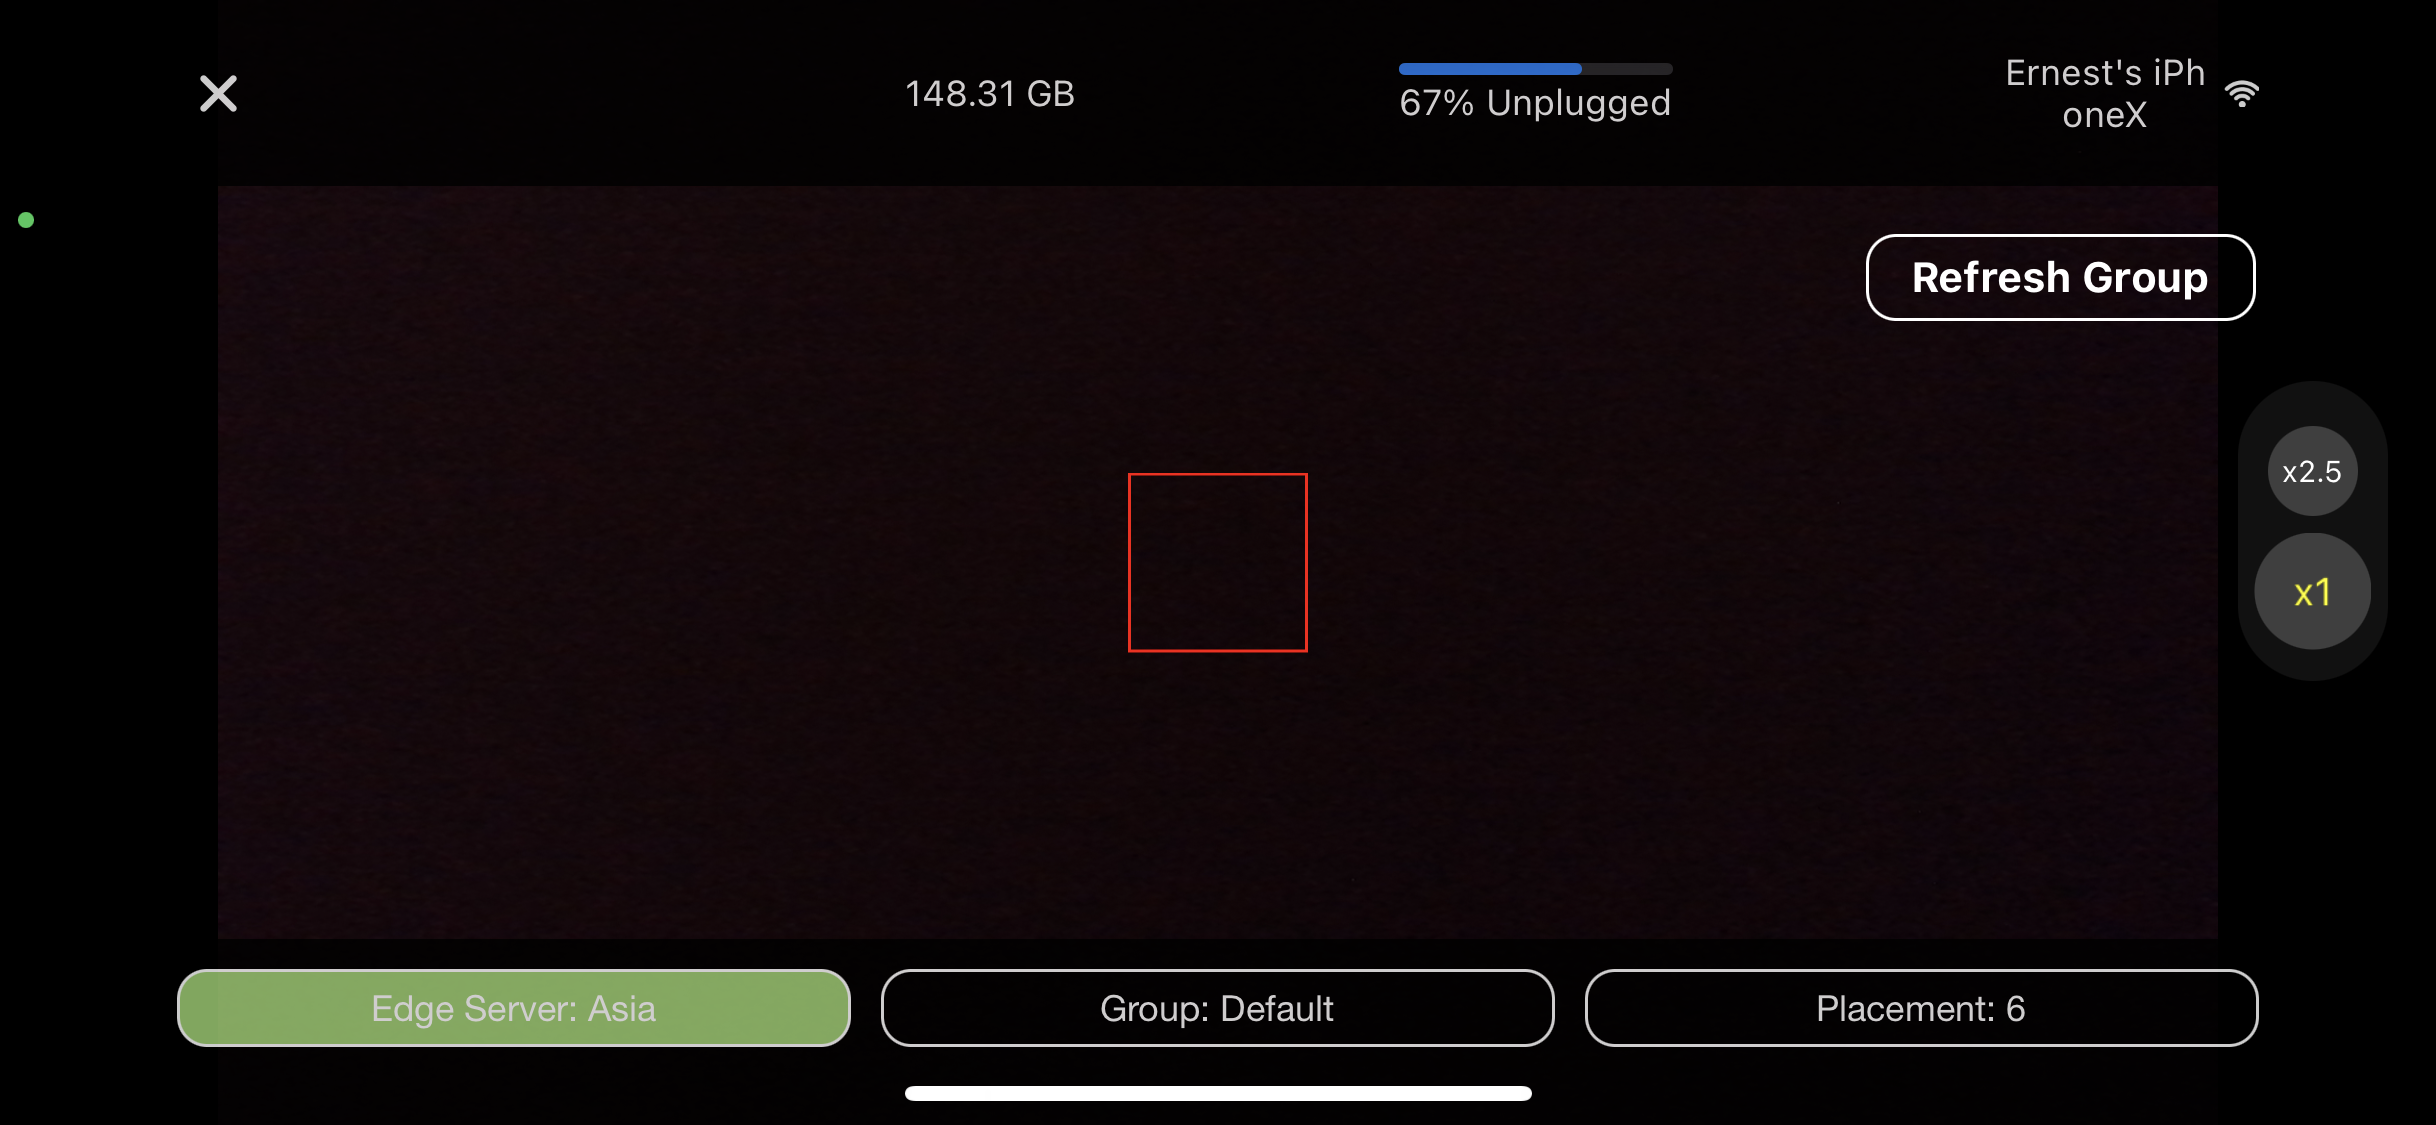
- Repeat (4) for any additional CAMERAS you want to add. eyes3 supports up to 10 VAR cameras.
- You should see the selected camera placement appear on the CONTROL phone under the green 'Cameras' button at the top. If you don't see it, press the 'Refresh Group' button on the camera
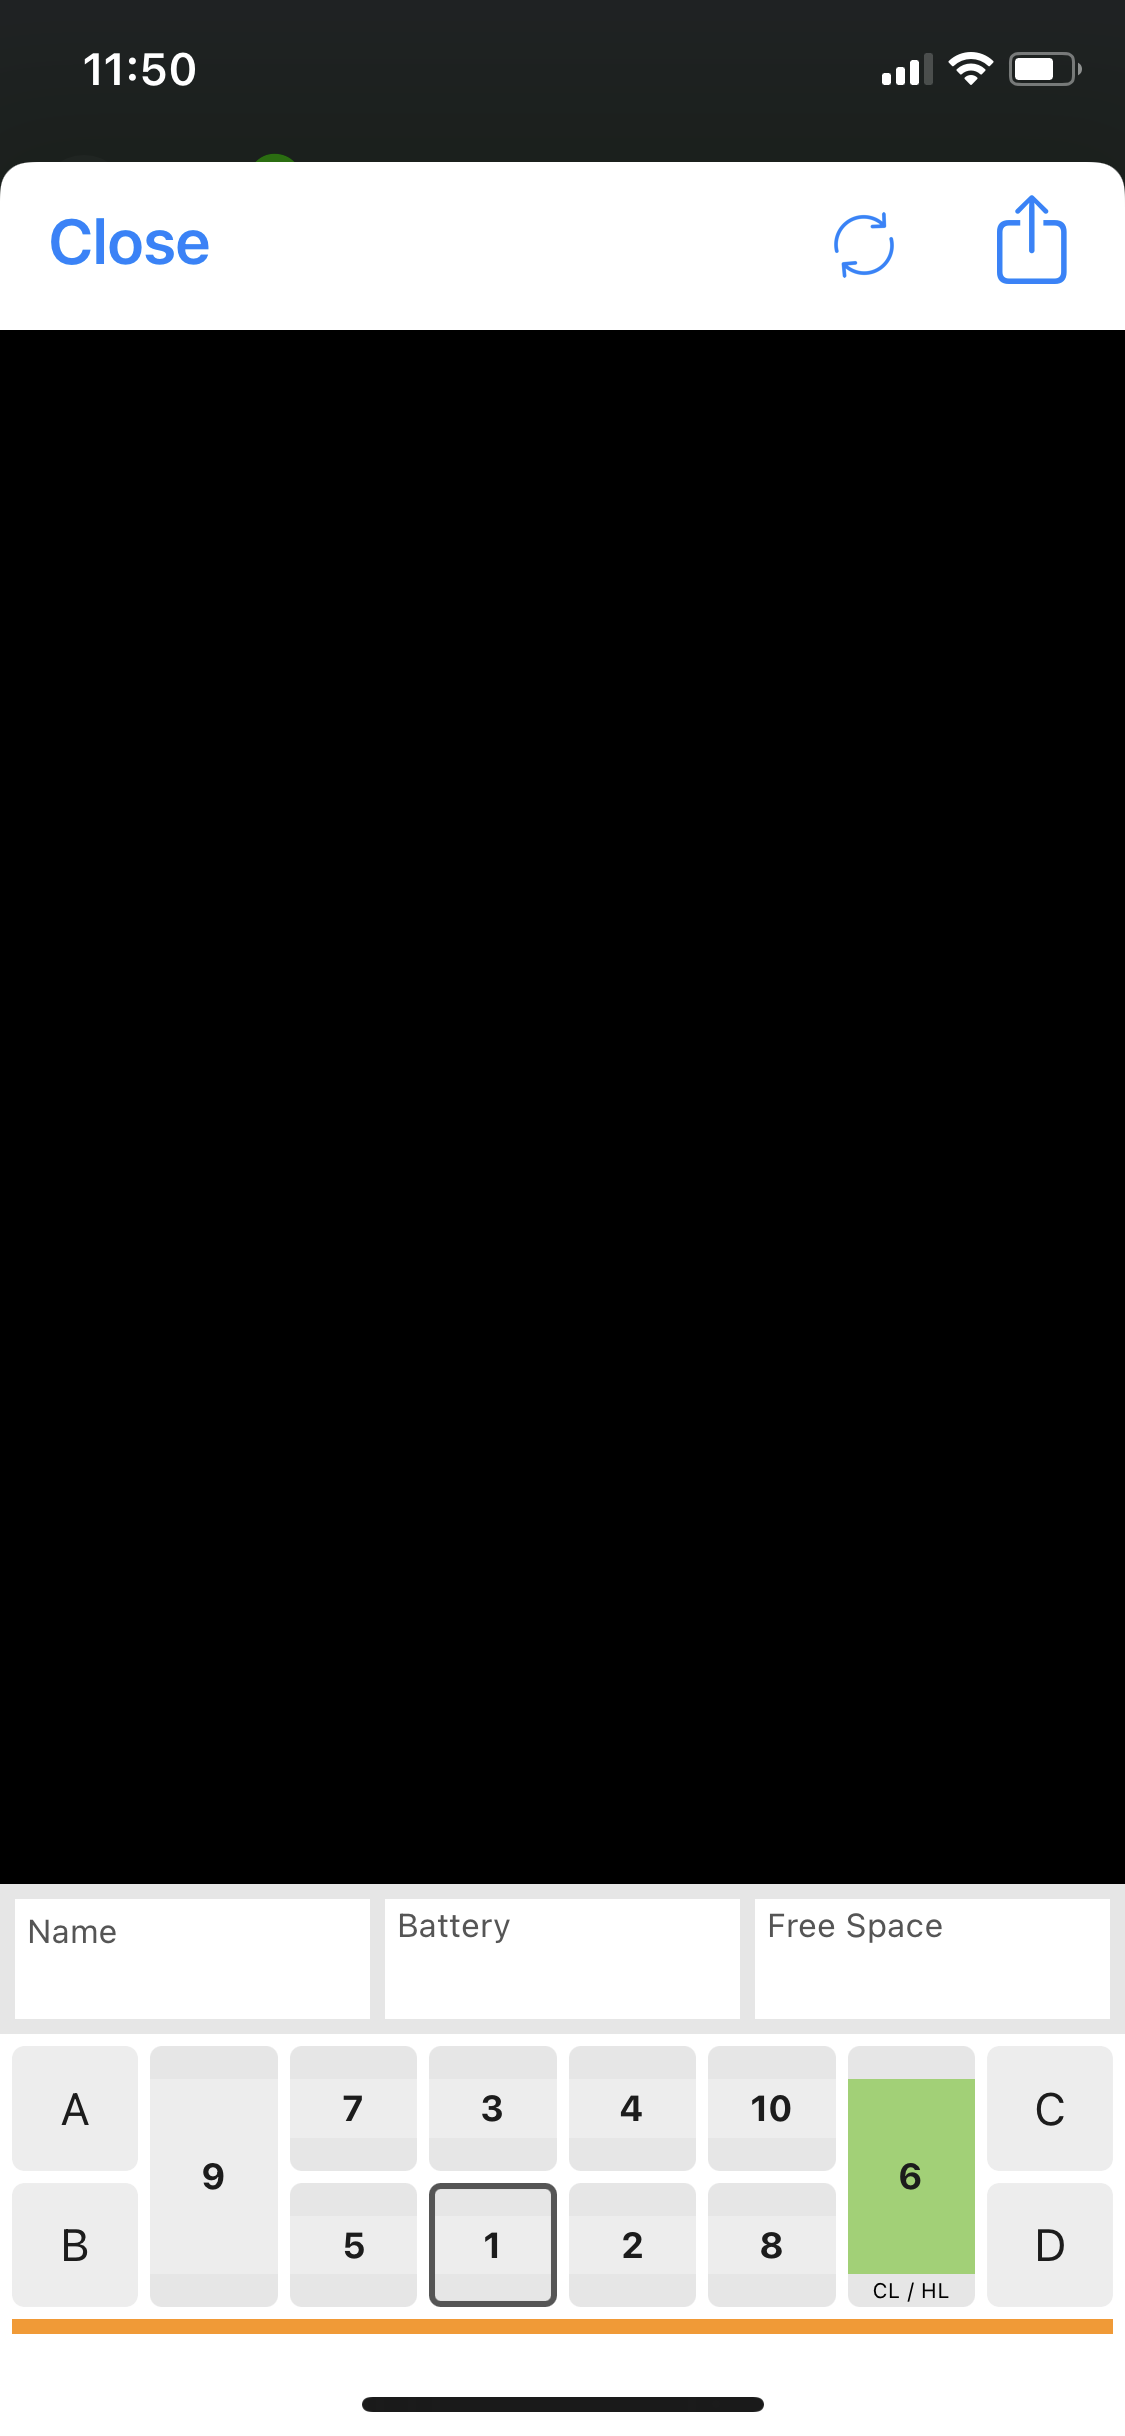
- To maximise the speed of videos retrieval during VAR review, turn on Auto Upload Videos by clicking the Green Icon in eyes3 CONTROL/History. The Green Icon only appears after you have performed step 4 above.
Edge Server
eyes3 VAR needs to push and download videos across the network. An Edge Server helps to minimise network latency when downloading videos. Click the Camera Menu to choose an Edge Server that is closest to your current location when setting up eyes3.
You are now ready to use VAR.
To use VAR, follow these steps:
- Immediately after the shot/action you want to review, click the VAR/Highlight button on the eyes3 CONTROL screen. If you do not see VAR button, click the large button with eyes3 logo.
- You should see all the video cameras available for review; indicated by video icon (the rectangle with a right pointing arrow)
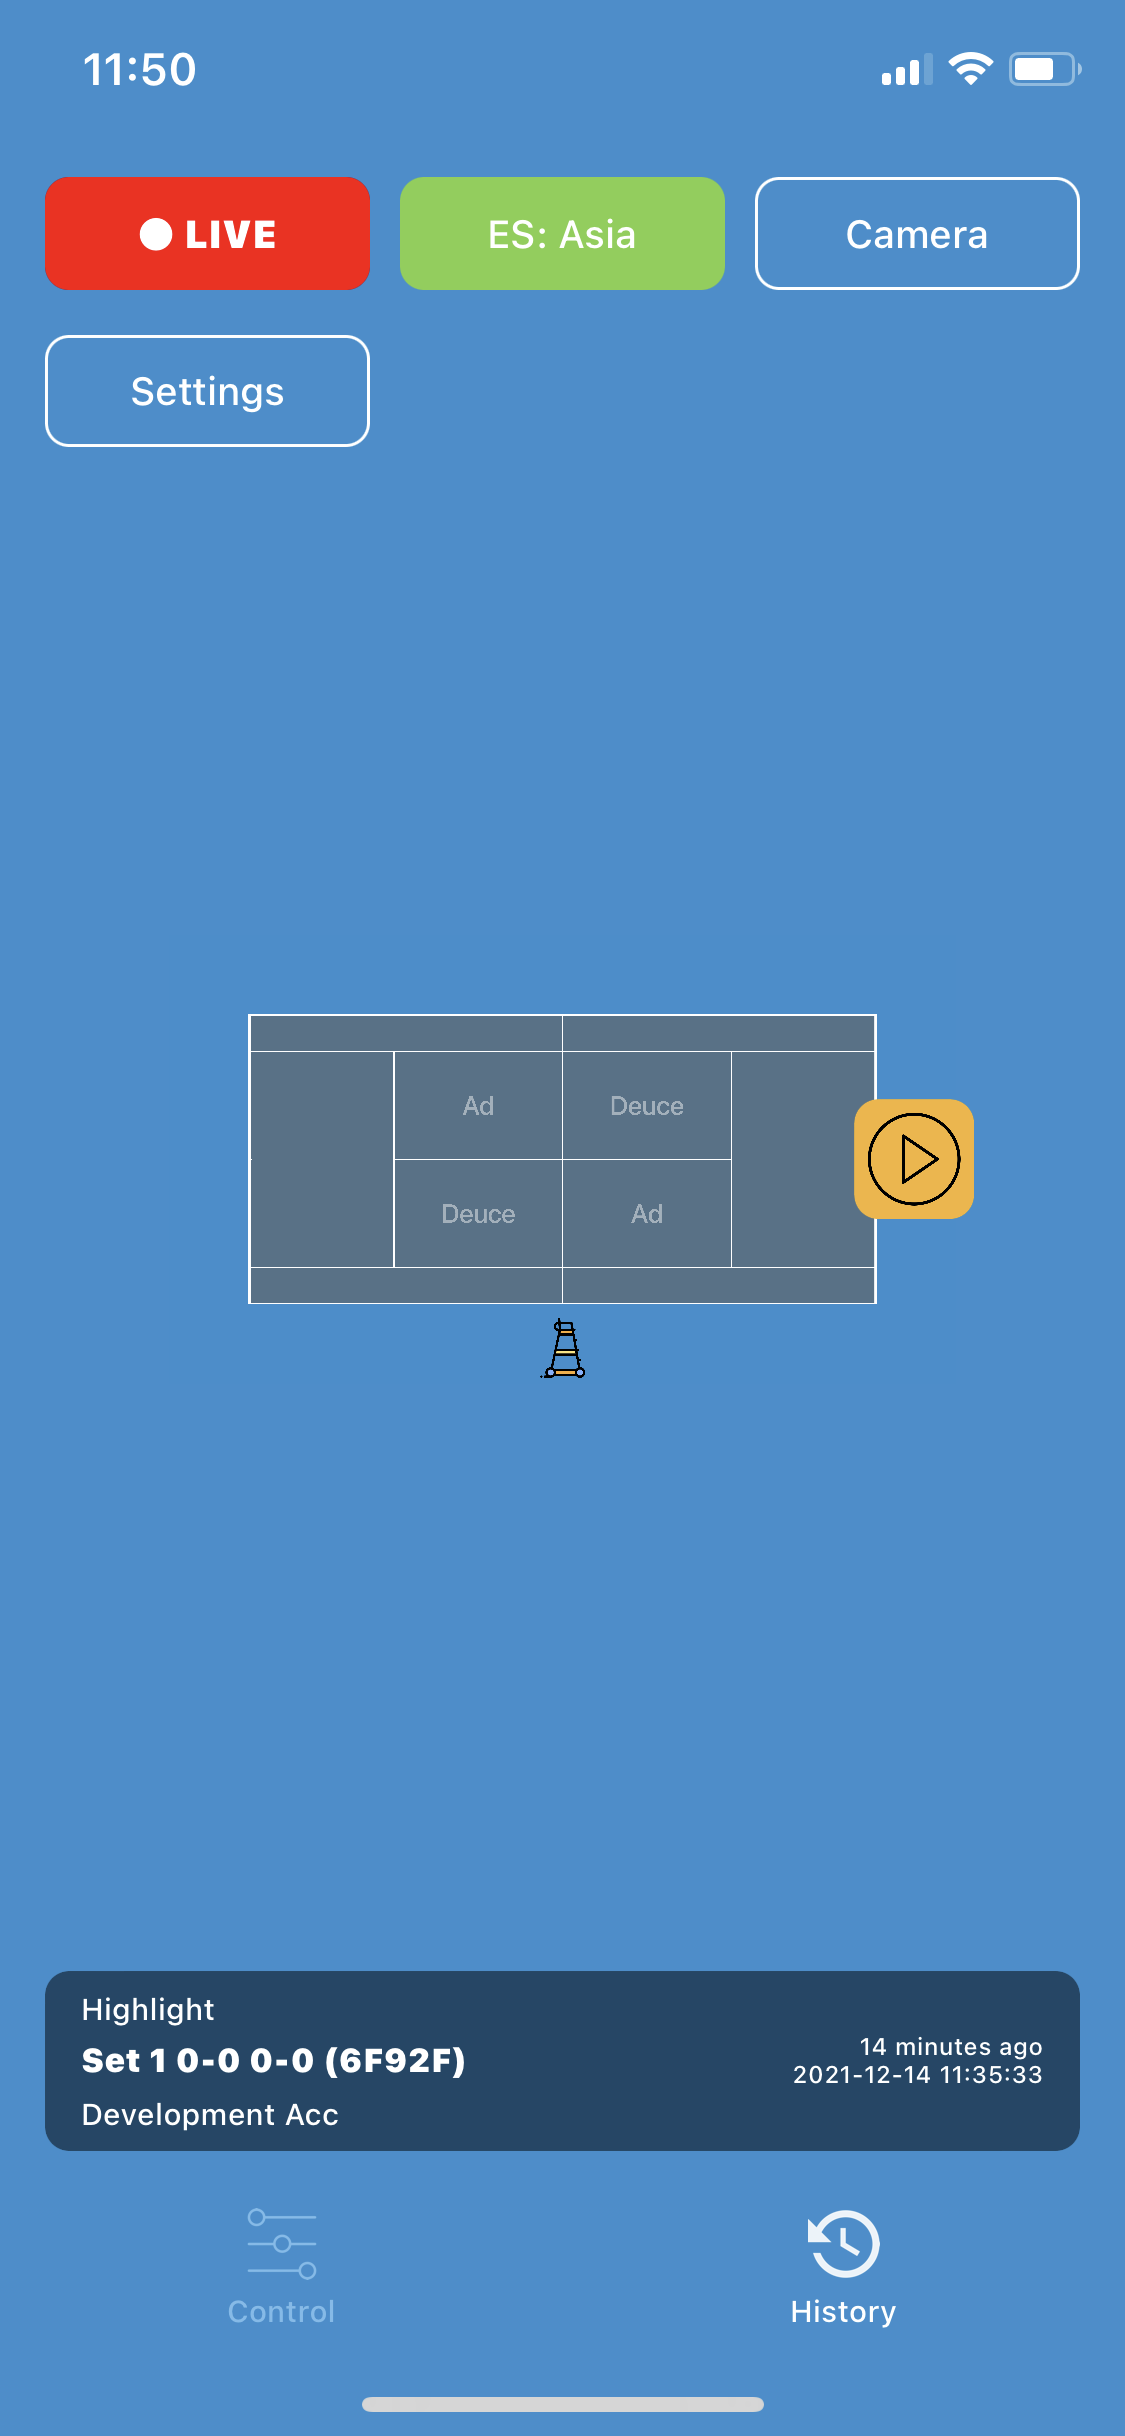
- Once the video is uploaded to the eyes3 Cloud server, the icon will change to the Cloud icon
- Click on the Cloud icon (‘Retrieve’) to retrieve the video to eyes3 CONTROL
- Once retrieved, click ‘Play’ to review the shot/action
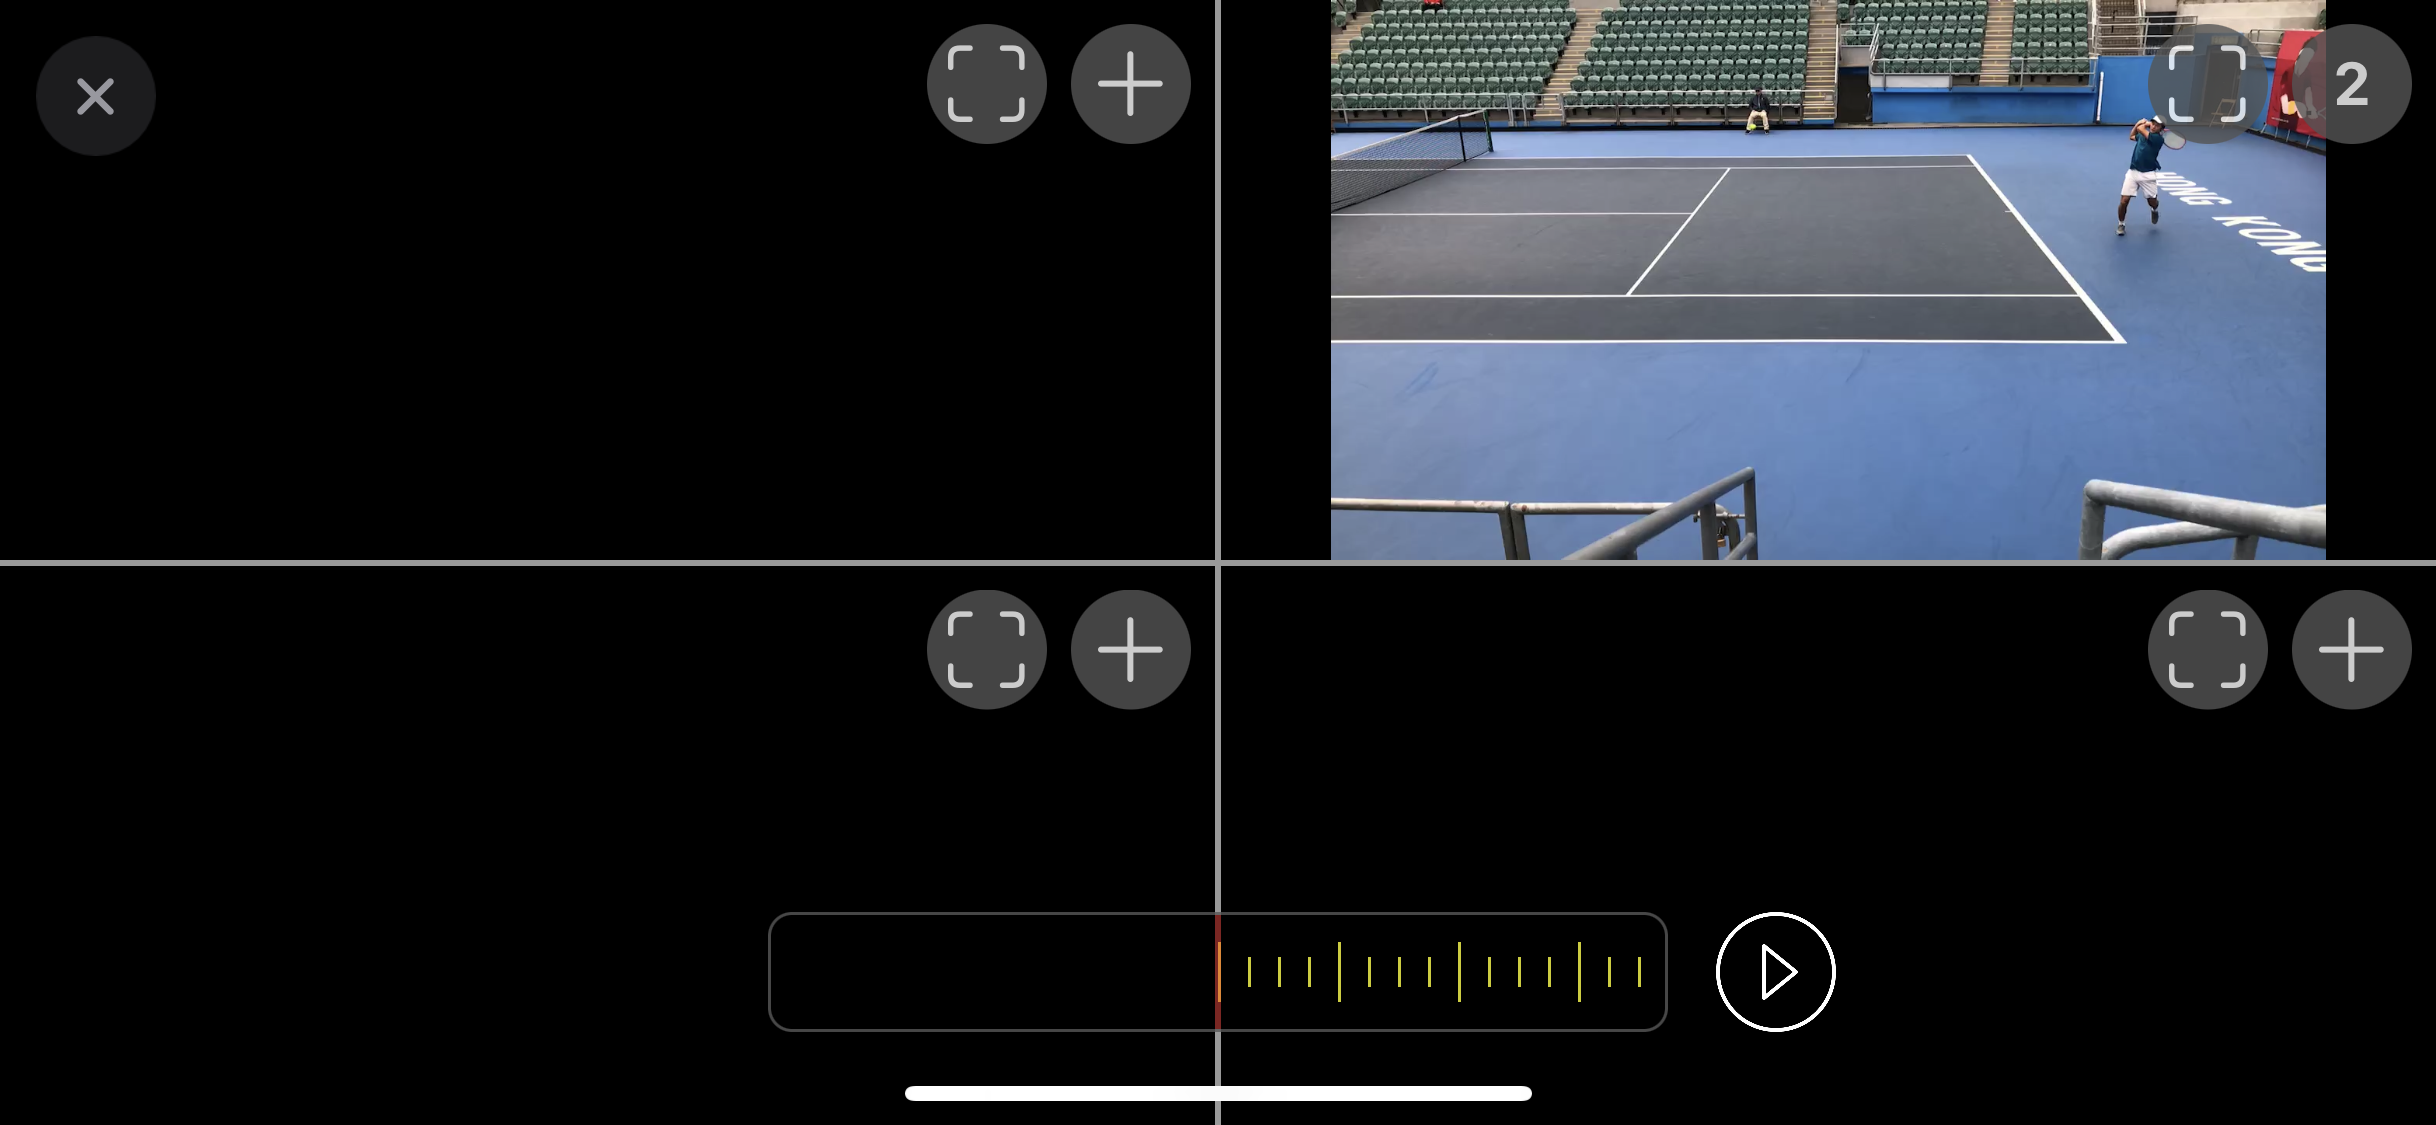
- If you don't see the videos, click the '+' button and select the correct camera. You pinch to zoom in and out and use the scrub bar to play the video frame by frame.
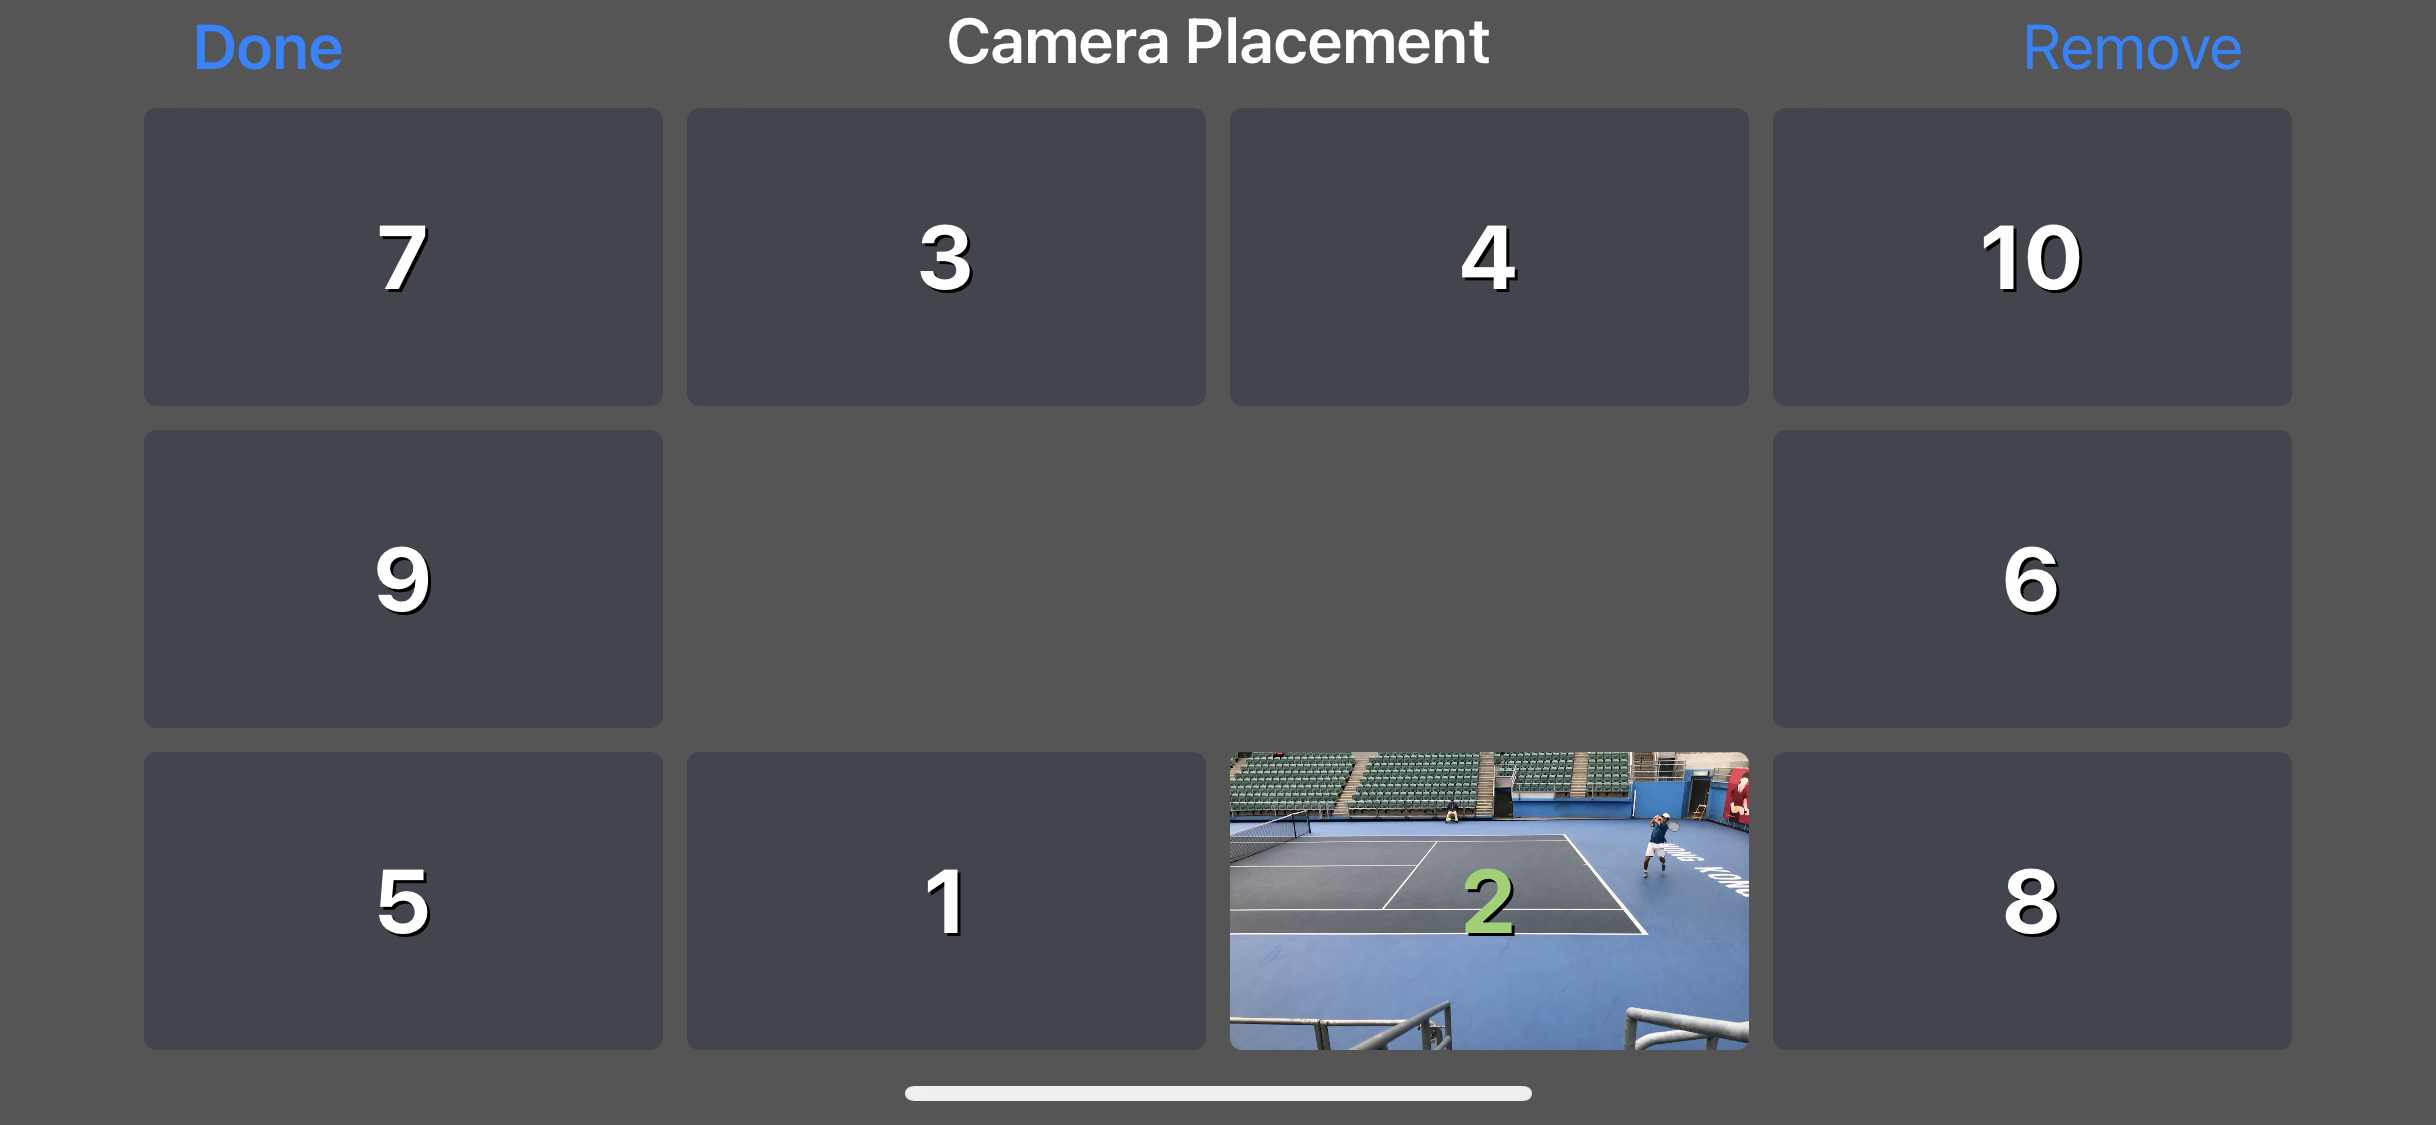
- You can now play the videos in slow motion by using the scrub bar at the bottom. You can also pinch to zoom in and out. If multiple cameras are available, you can view up to 4 video clips at the same time by choosing the ‘Select’ button at the top right corner.

