1. Choose Line Call mode for first time users
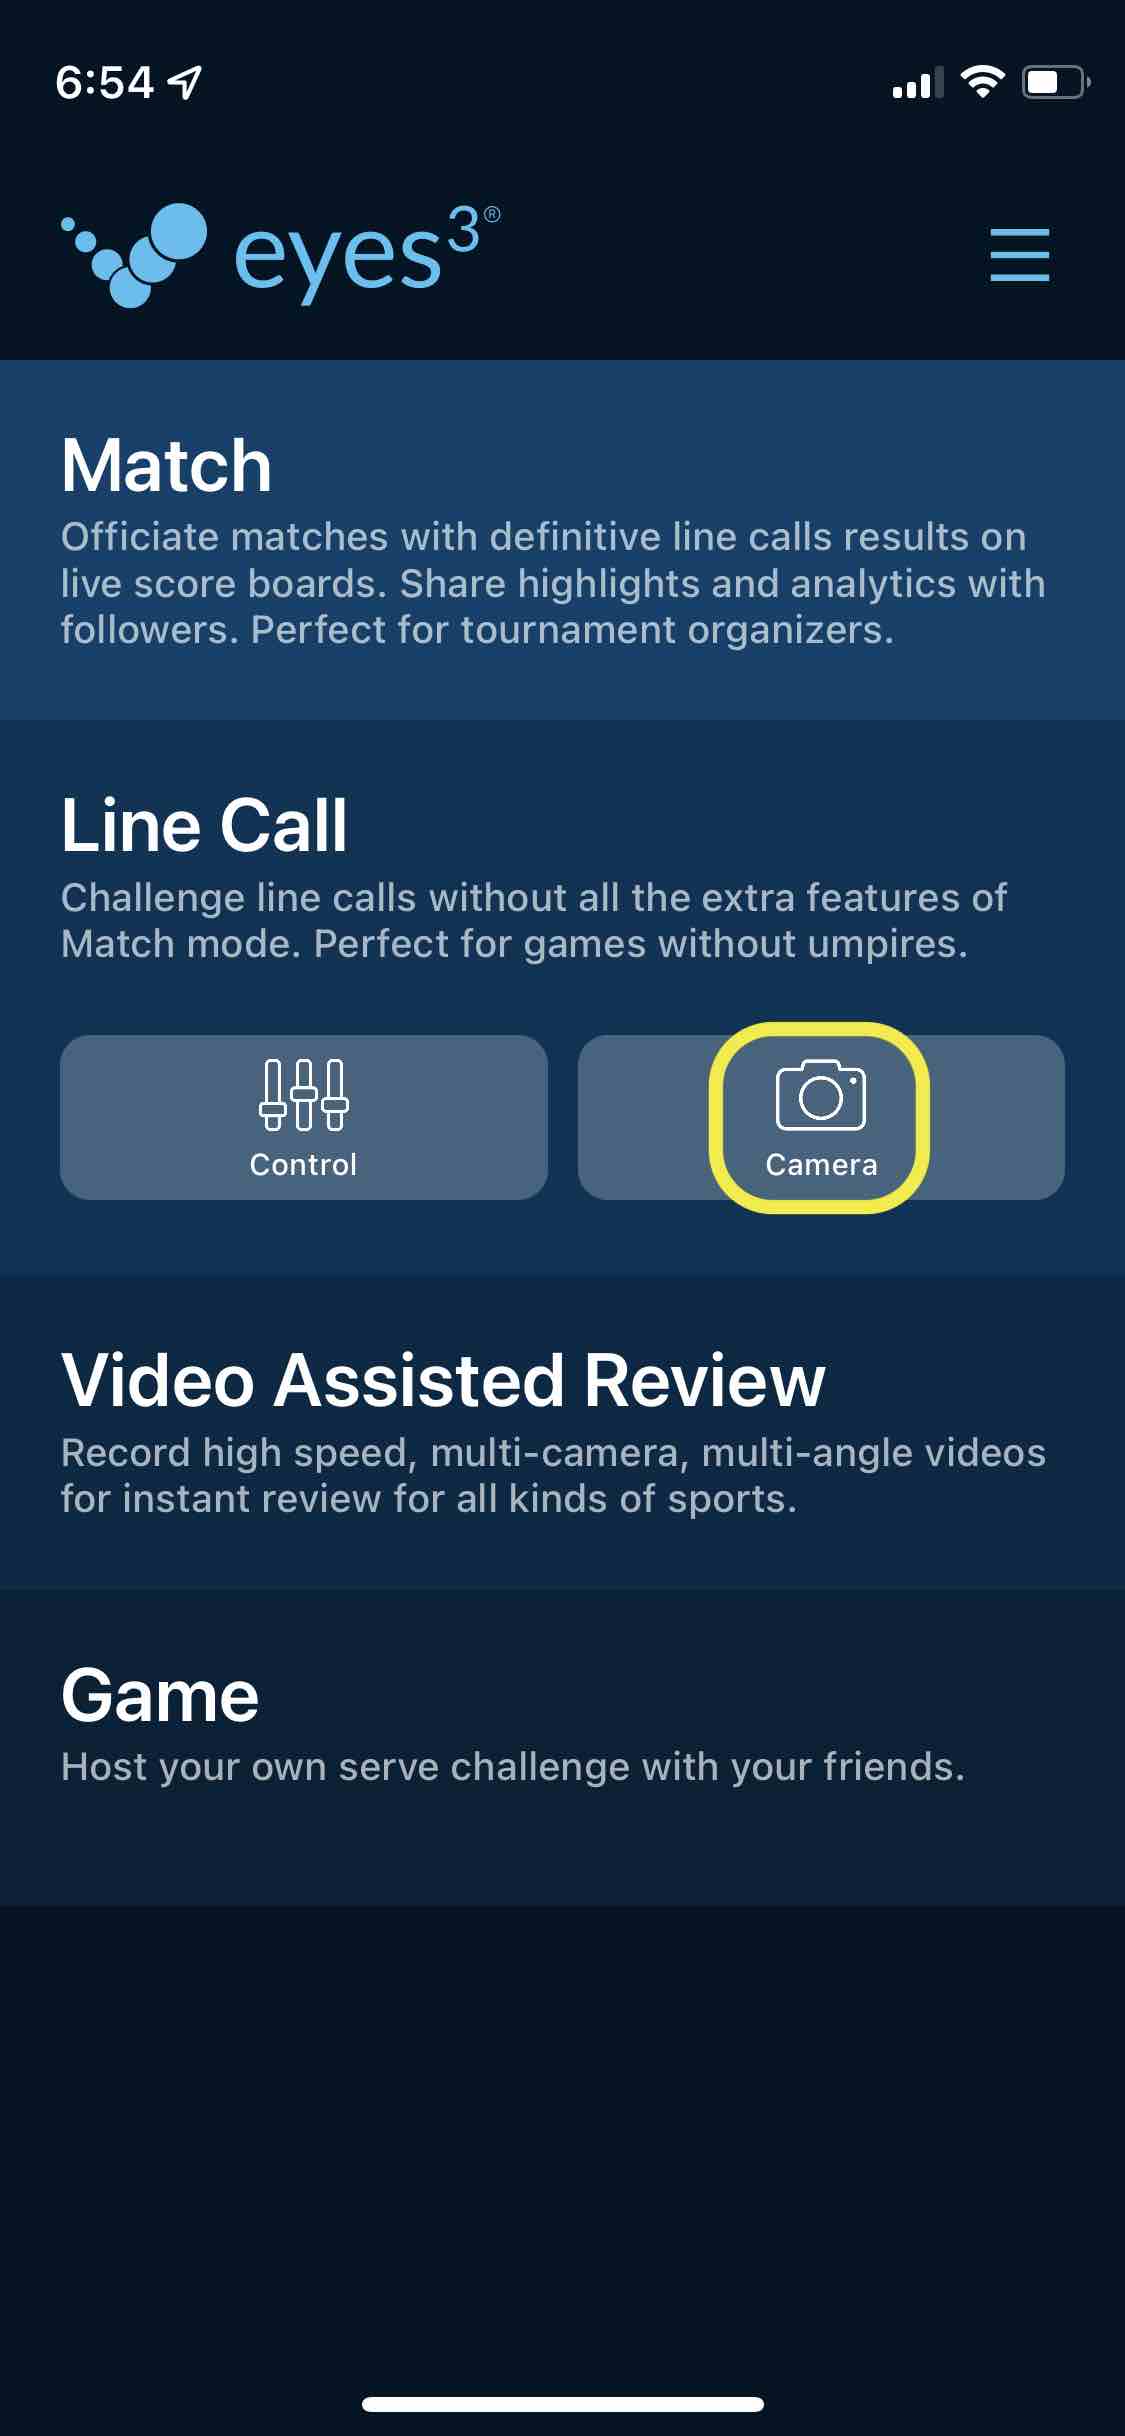
You can begin setting up eyes3 by choosing one of the available modes: Match, Line call, Video Assisted Review or Game depending on your requirements. Each mode has seperate icons to activate the CONTROL or CAMERA functions needed to operate eyes3. If this is the first time you use eyes3, we recommend the Line Call mode. This mode allows you to test drive the electronic line call system easily. We will use the Line Call mode in all examples throughout this guide.
2. Prepare 2 iPhones as Cameras
You will require at least two iPhones (iPhone SE Second generation or above) as cameras to cover the whole court. Each iPhone running the camera function is responsible for one side of the court. Let's call them Camera A and Camera B. You can add additional cameras to increase eyes3 performance and accuracy and access other advanced features.
3. Prepare 1 iPhone, iPad or Apple Watch as Control
You will also require one extra iPhone, iPad and/or Apple Watch as a control device. Let's call this the Control C. All cameras and control devices must have internet access.
4. Login to eyes3
Login to the eyes3 App on all devices using the same eyes3 account you have registered.
5. Launch Camera function
On Camera A and B, launch the Camera function for the mode you have selected. We will use the Line call mode below as examples. The set up for other modes are similar.
6. Mount Camera A on Tripod
Mount Camera A on a tripod or using a phone holder mounted on any structure on right side of the court about head high. Ensure the camera clearly sees the tennis court area highlighted in RED below looking at the right side of the umpire's chair. In eyes3 terminology, we say this phone is set at Camera Placement 2. Click the button 'Placement' and choose 2. The Orange Line represents the location of the umpire's chair or a chair or bench on the court.
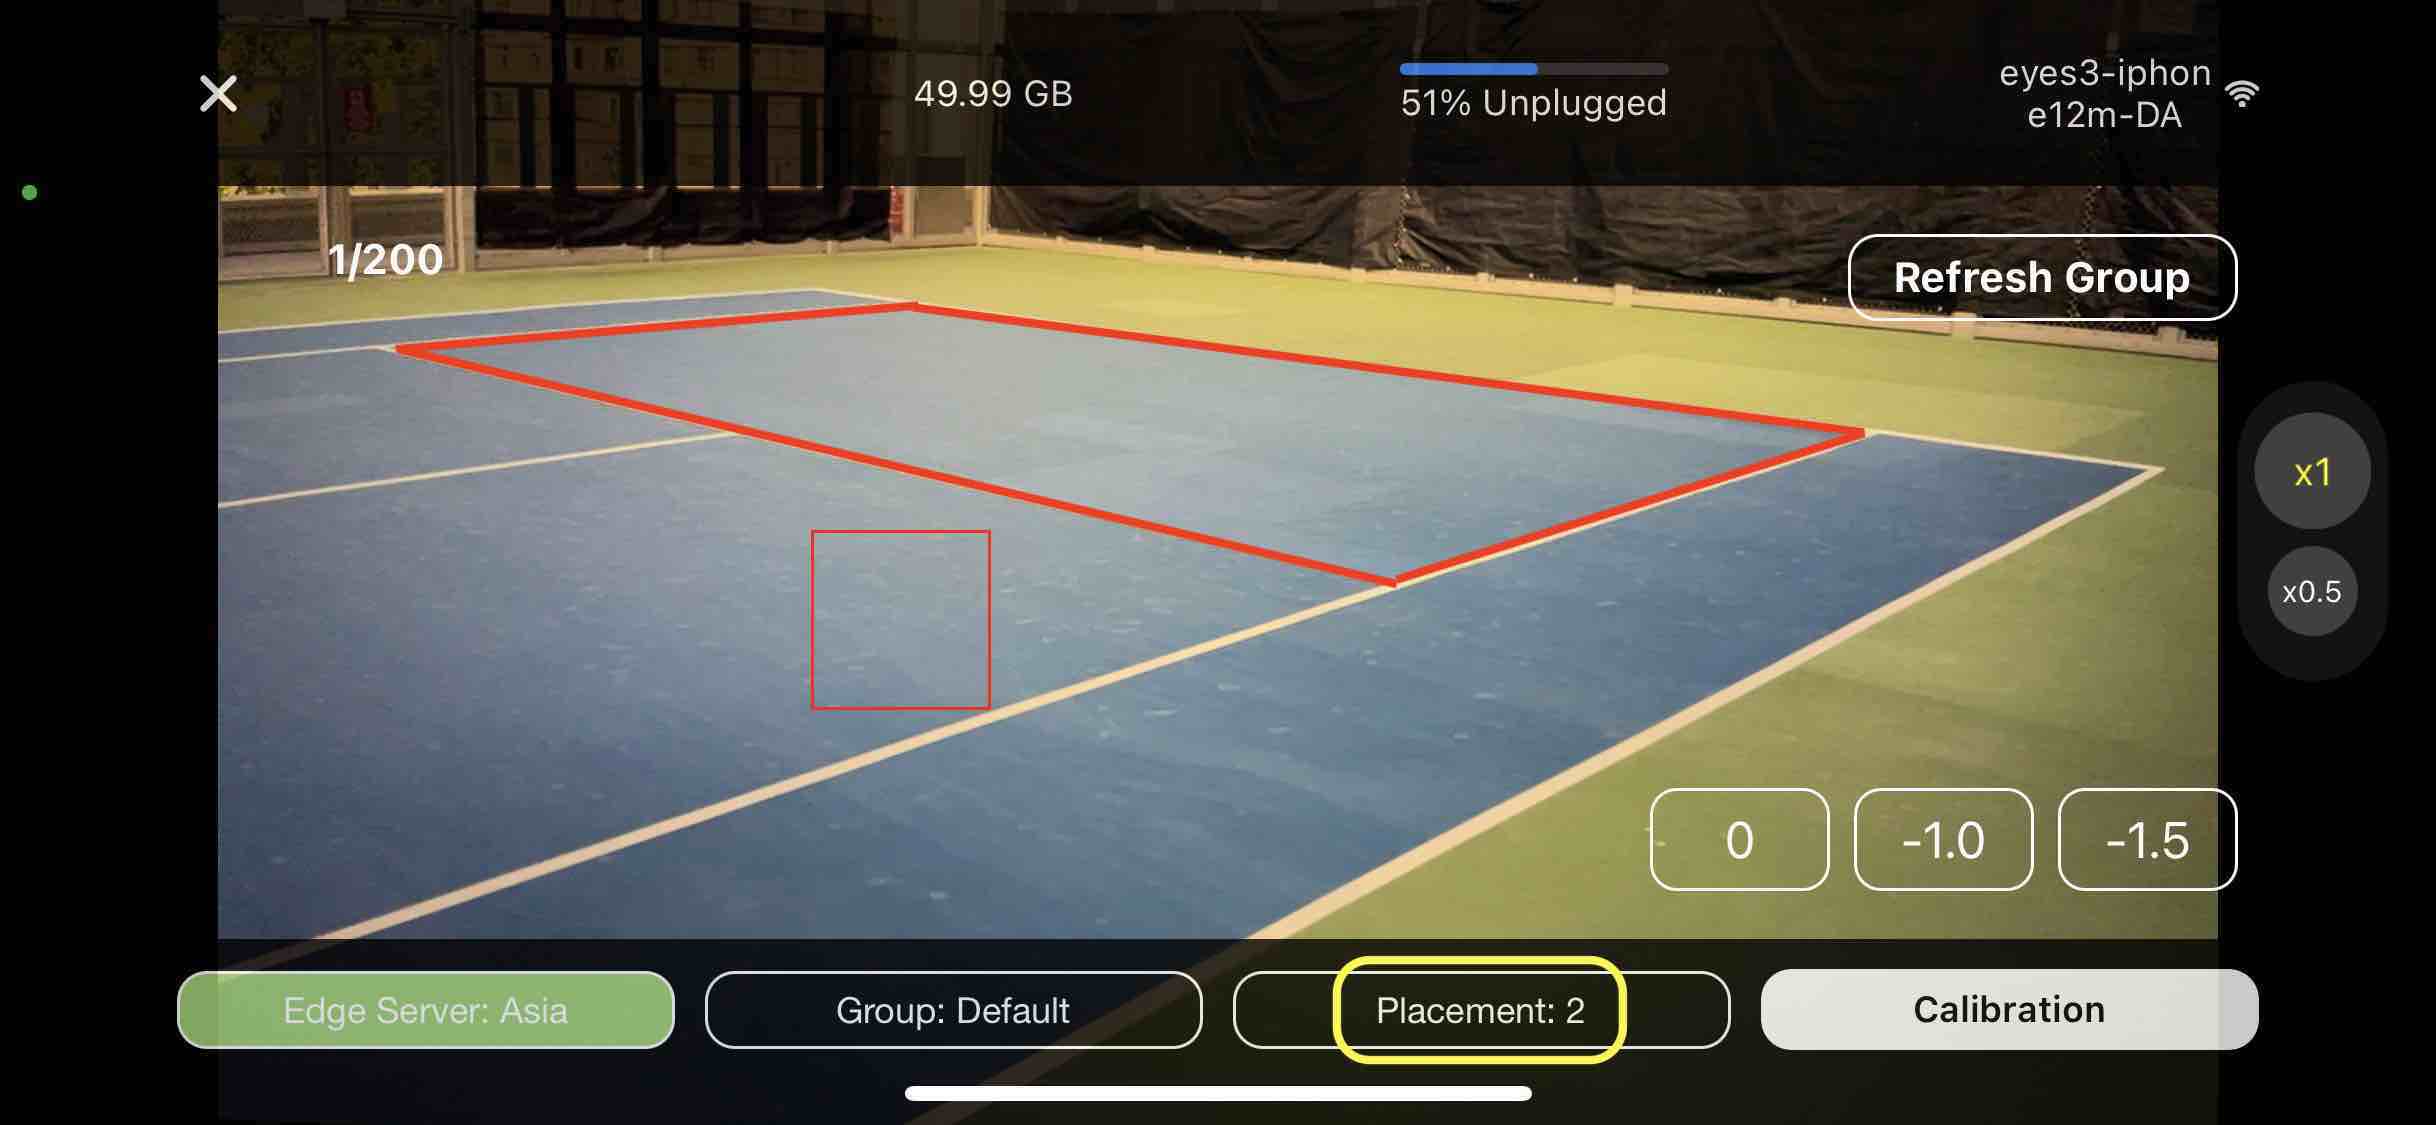
View from Camera A - Camera Placement 2
7. Calibrate Camera A
Calibrate Camera A by clicking the 'Calibrate' button and wait for the response 'Calibration Successful'. If calibration fails, re-position the camera view, make sure the red outlined area is in view and retry calibration. Re-position the camera view and calibrate again if calibration fails.
8. Mount Camera B on Tripod
Repeat the above process for Camera B. Position this camera to cover the left side from the court of the umpire's chair and choose Camera Placement 1. It should look like the image below:
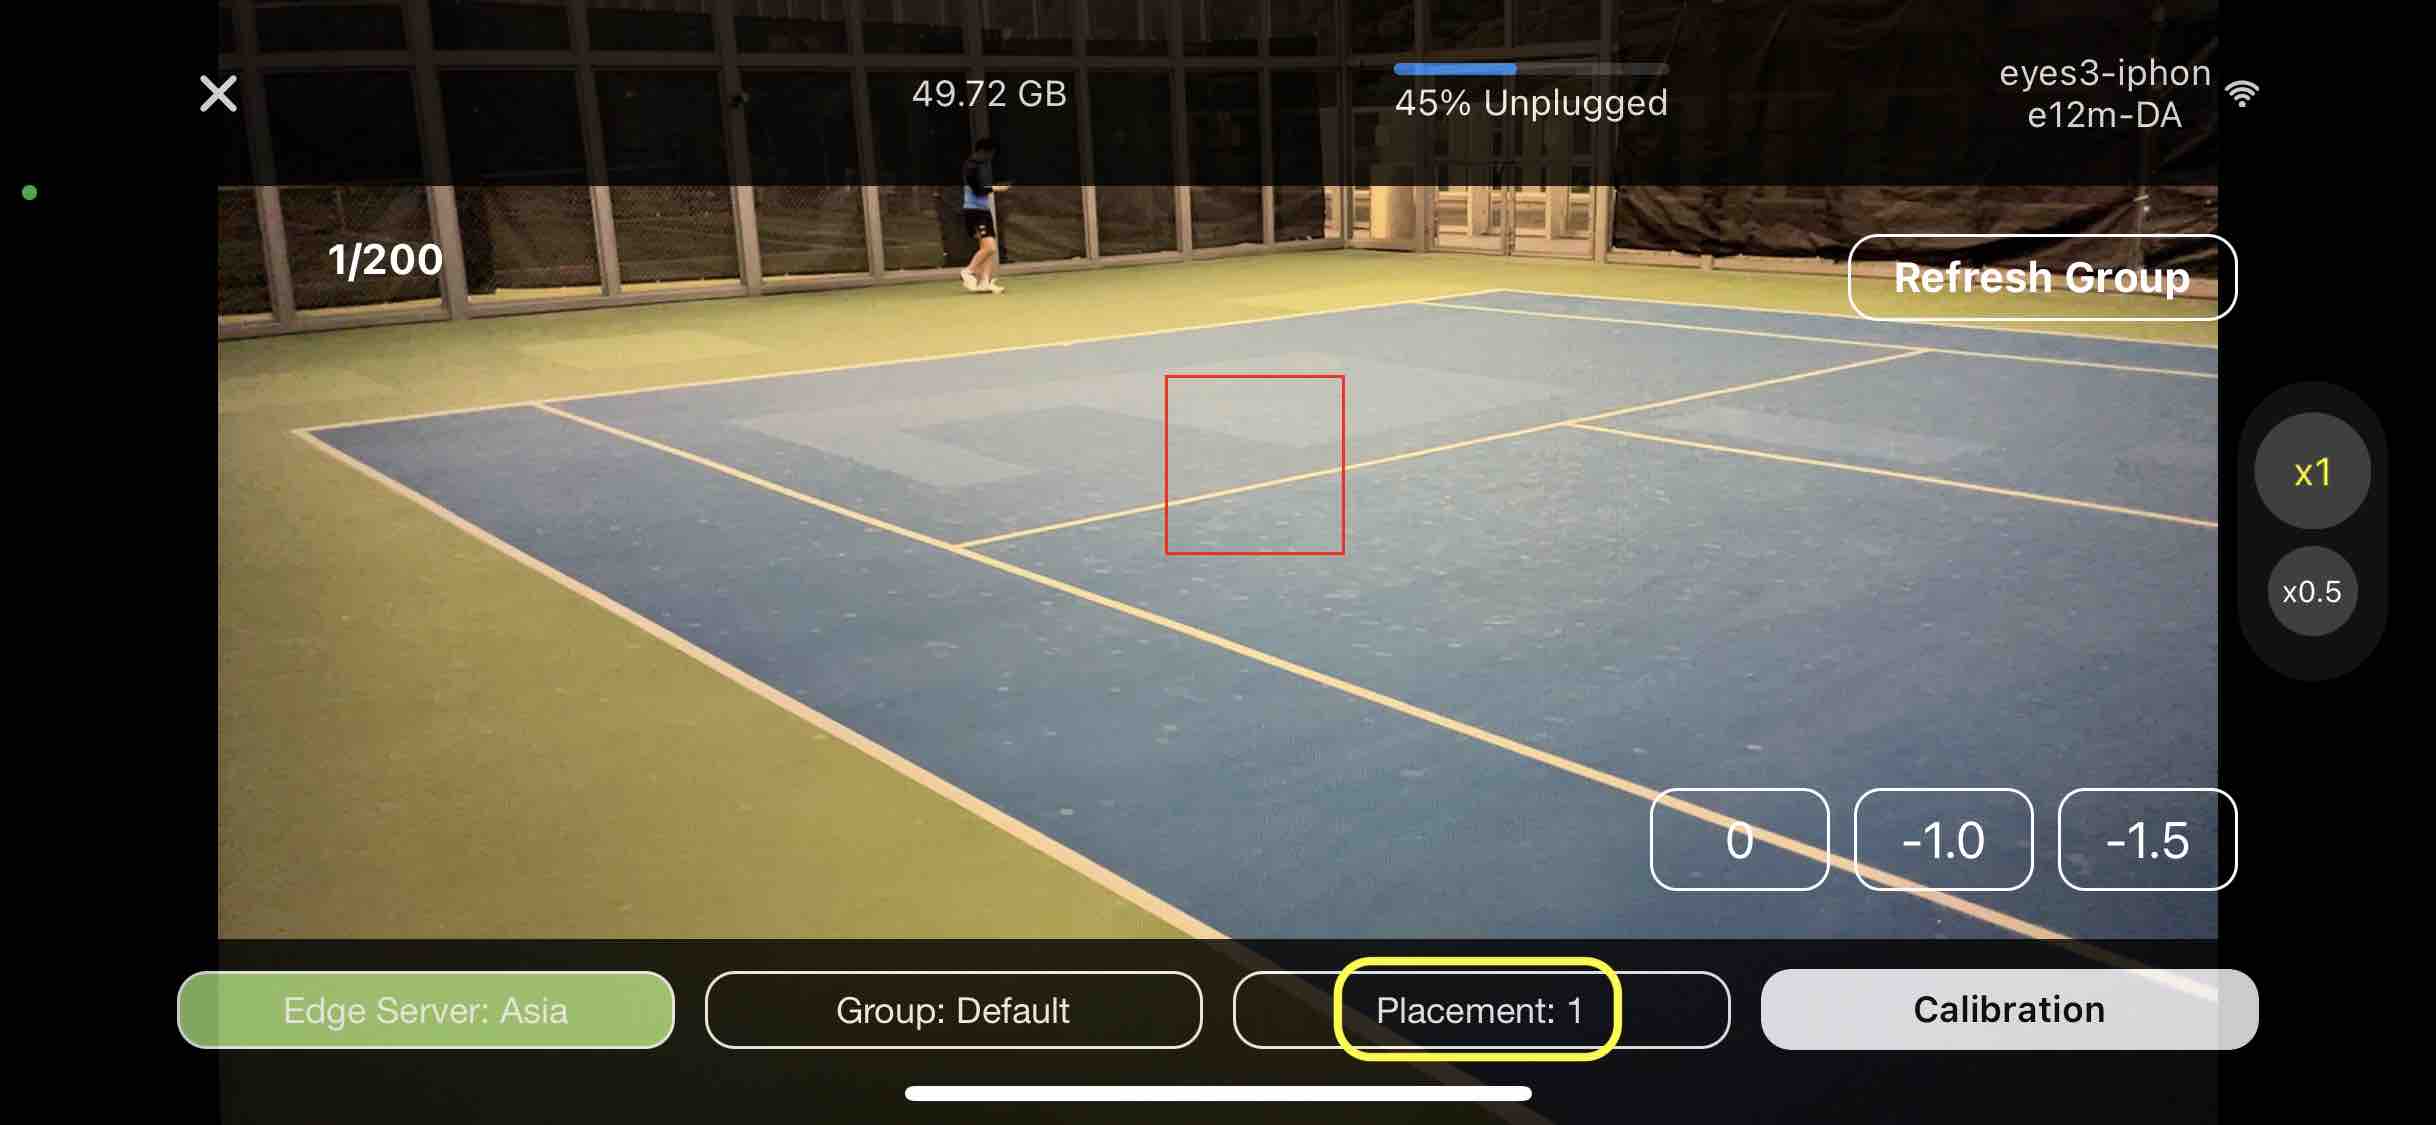
View from Camera B - Camera Placement 1
9. Calibrate Camera B
Calibrate Camera B by clicking the the 'Calibrate' button and wait for the response 'Calibration Successful'. If calibration fails, re-position the camera view, make sure the red outlined area is in view and retry calibration. Re-position the camera view and calibrate again if calibration fails.
10. Launch Control function
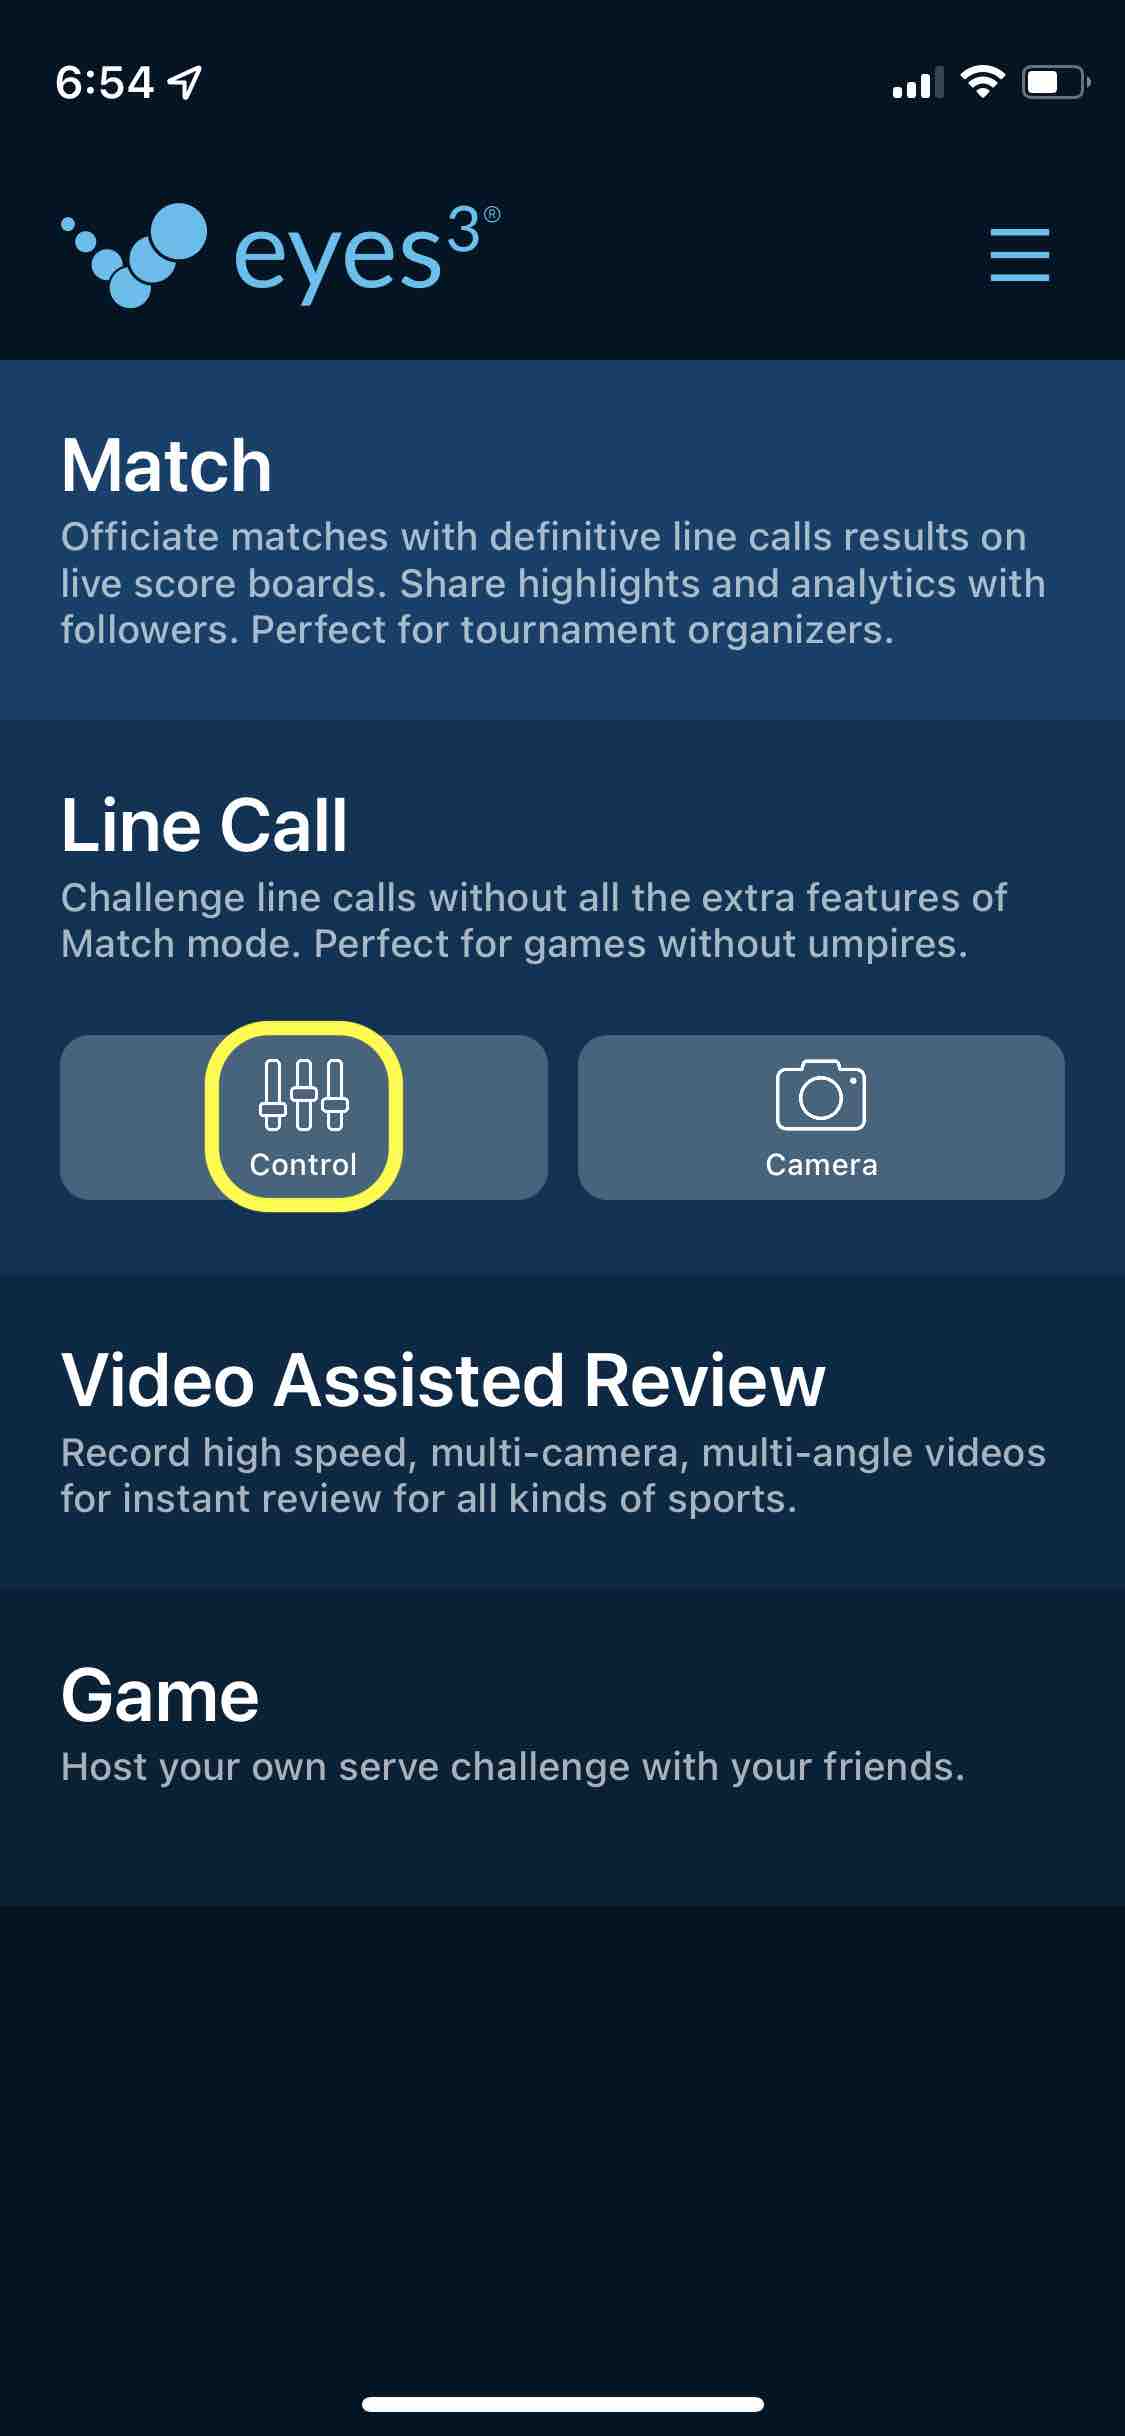
Now we are ready to connect the cameras to the Control C device. Click the 'Control' button on the control device while Camera A and B are still running.
11. Review connected cameras
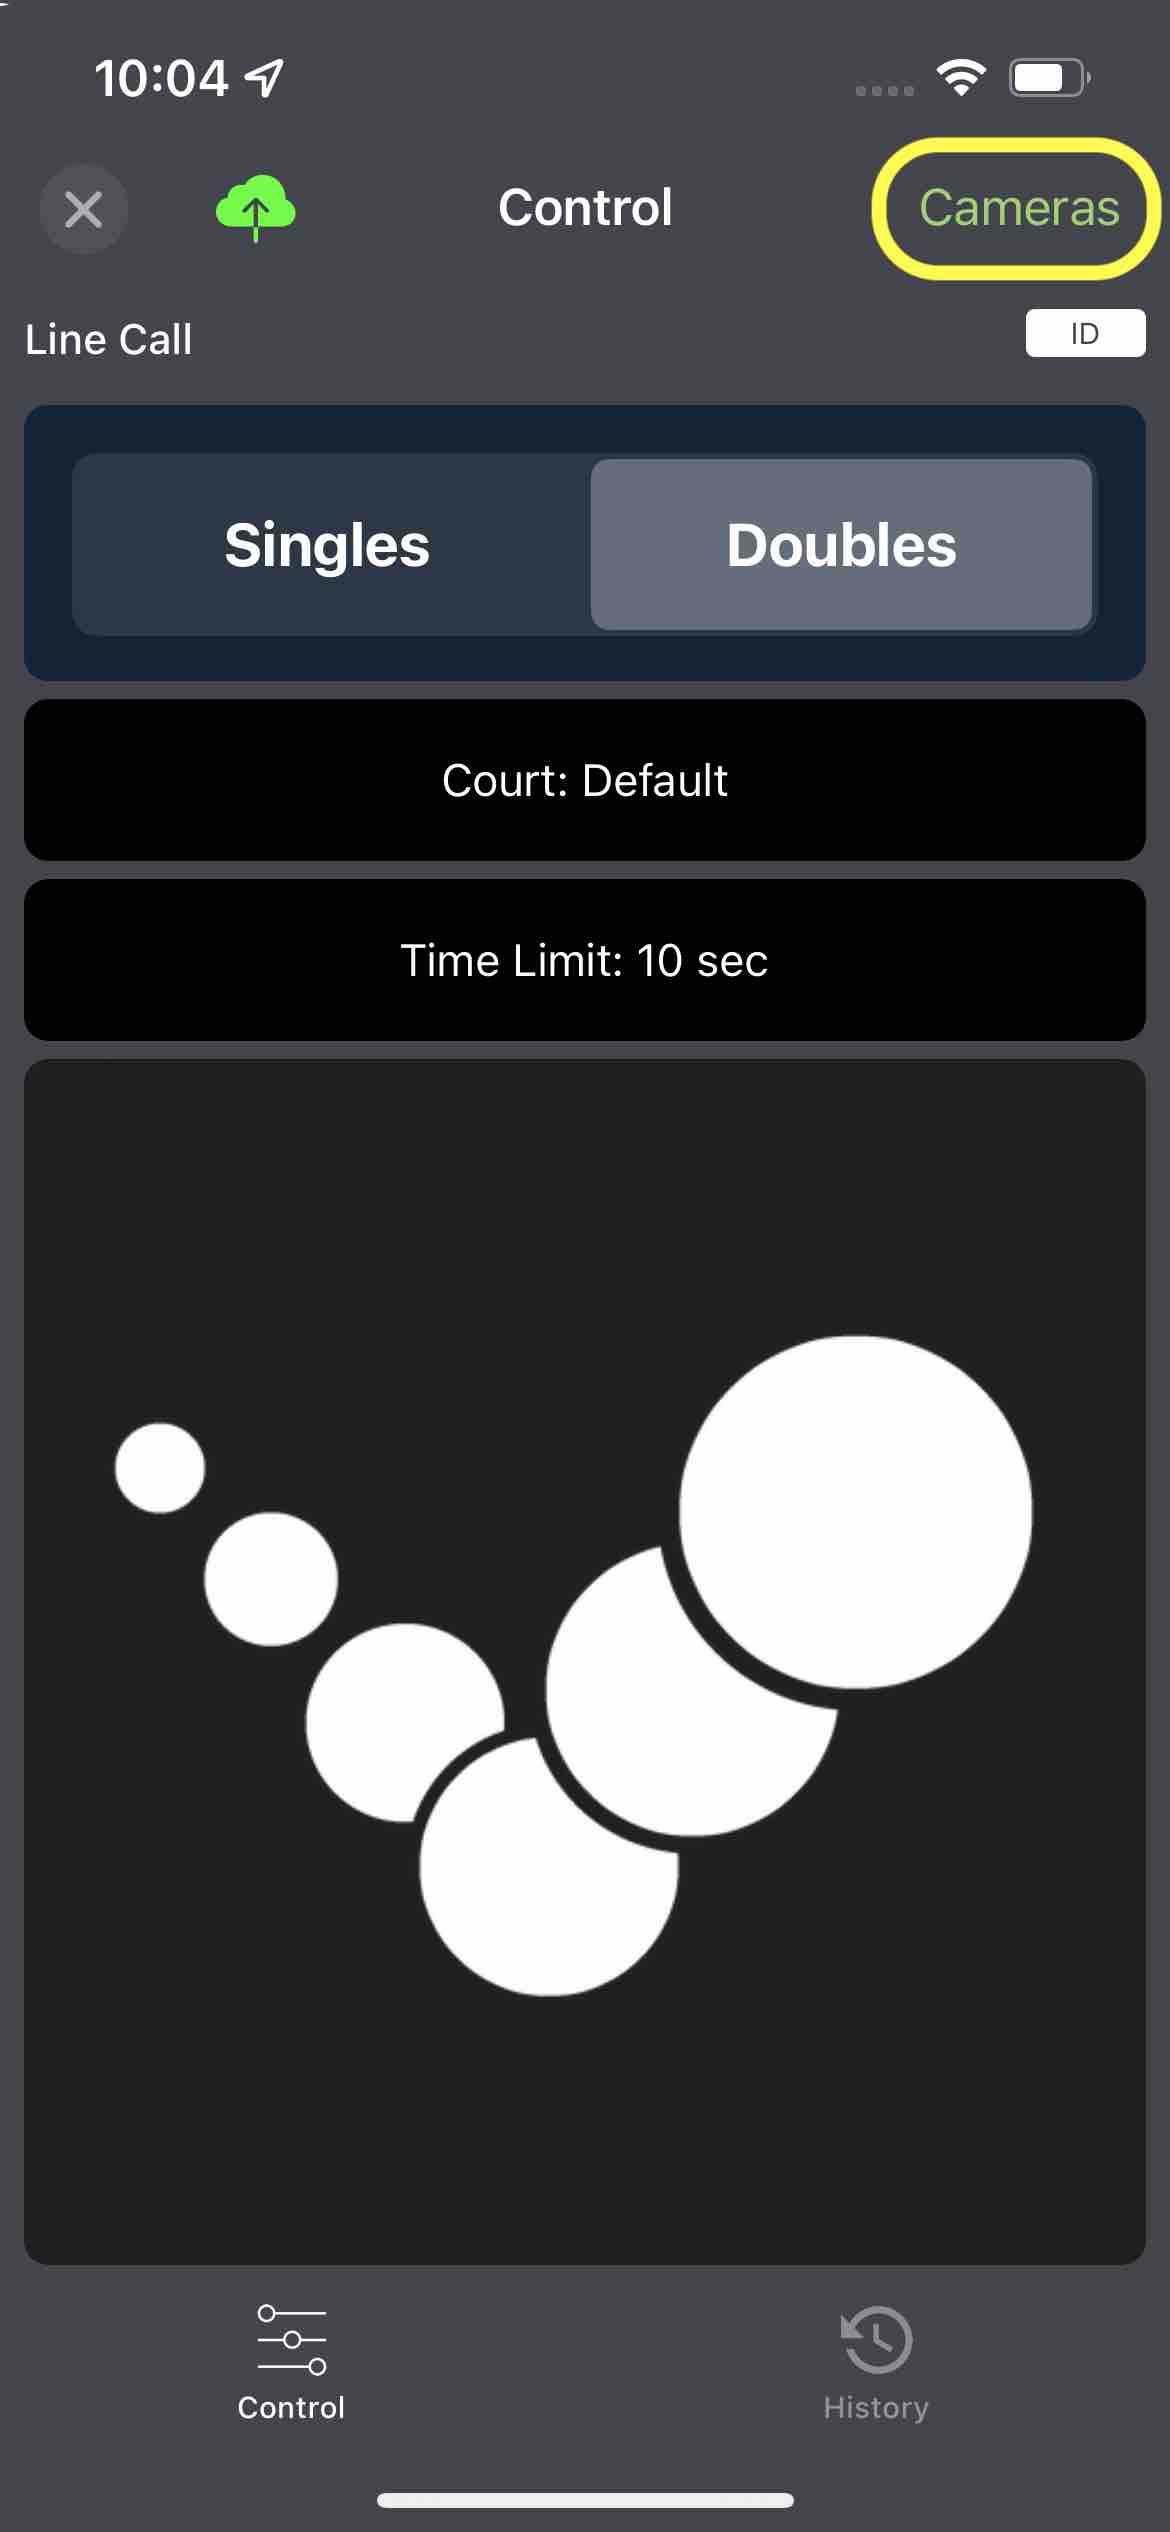
You should see the green Cameras button indicating the cameras are connected. You should be able to see the two camera you set up earlier in position 1 and 2. If you don't see them, click the Refresh Court' button on Camera A or B. Tips: make sure the 'Court' is set to 'Default' on the Cameras A and B, as well as on Control C. You can optionally set up multiple Courts and control eyes3 on multiple courts using the same Control device. We will just use the 'Default' court in this guide.
12. Ready to challenge
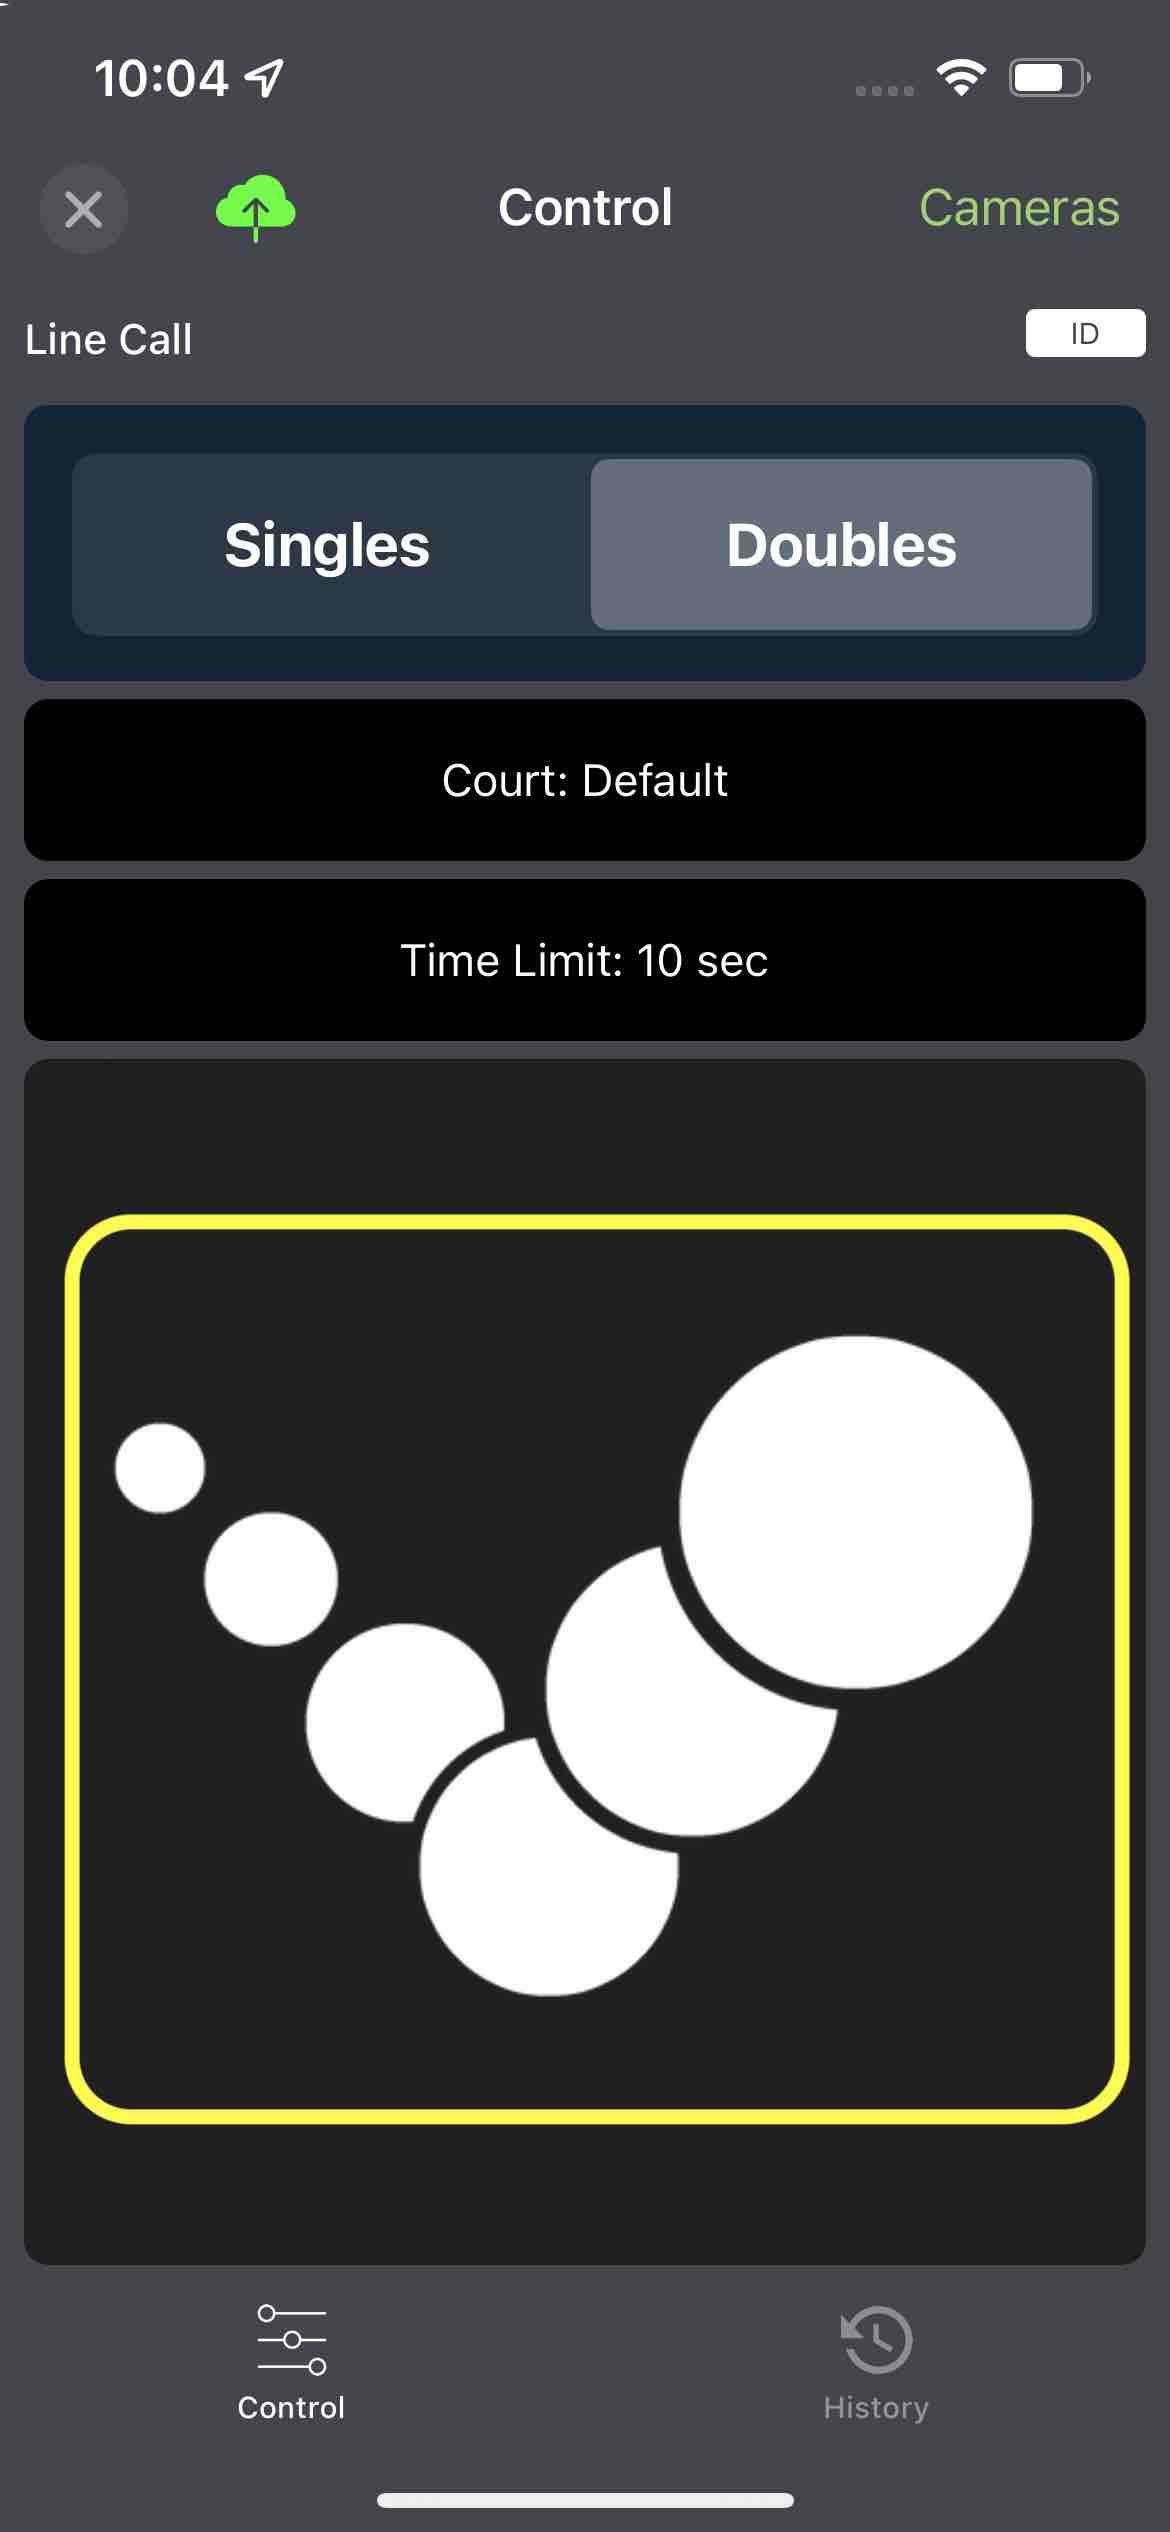
Now you are ready to use the system. Immediate after you played a shot that requires review, click the eyes3 logo to initiate a challenge request. The system defaults to a 10 second time interval between the time the ball landed on the ground and clicking the eyes3 logo button. Any impacts found within this 10 second period will be computed. You can click the 'Time Limit' button to adjust the time interval to suit your requirements.
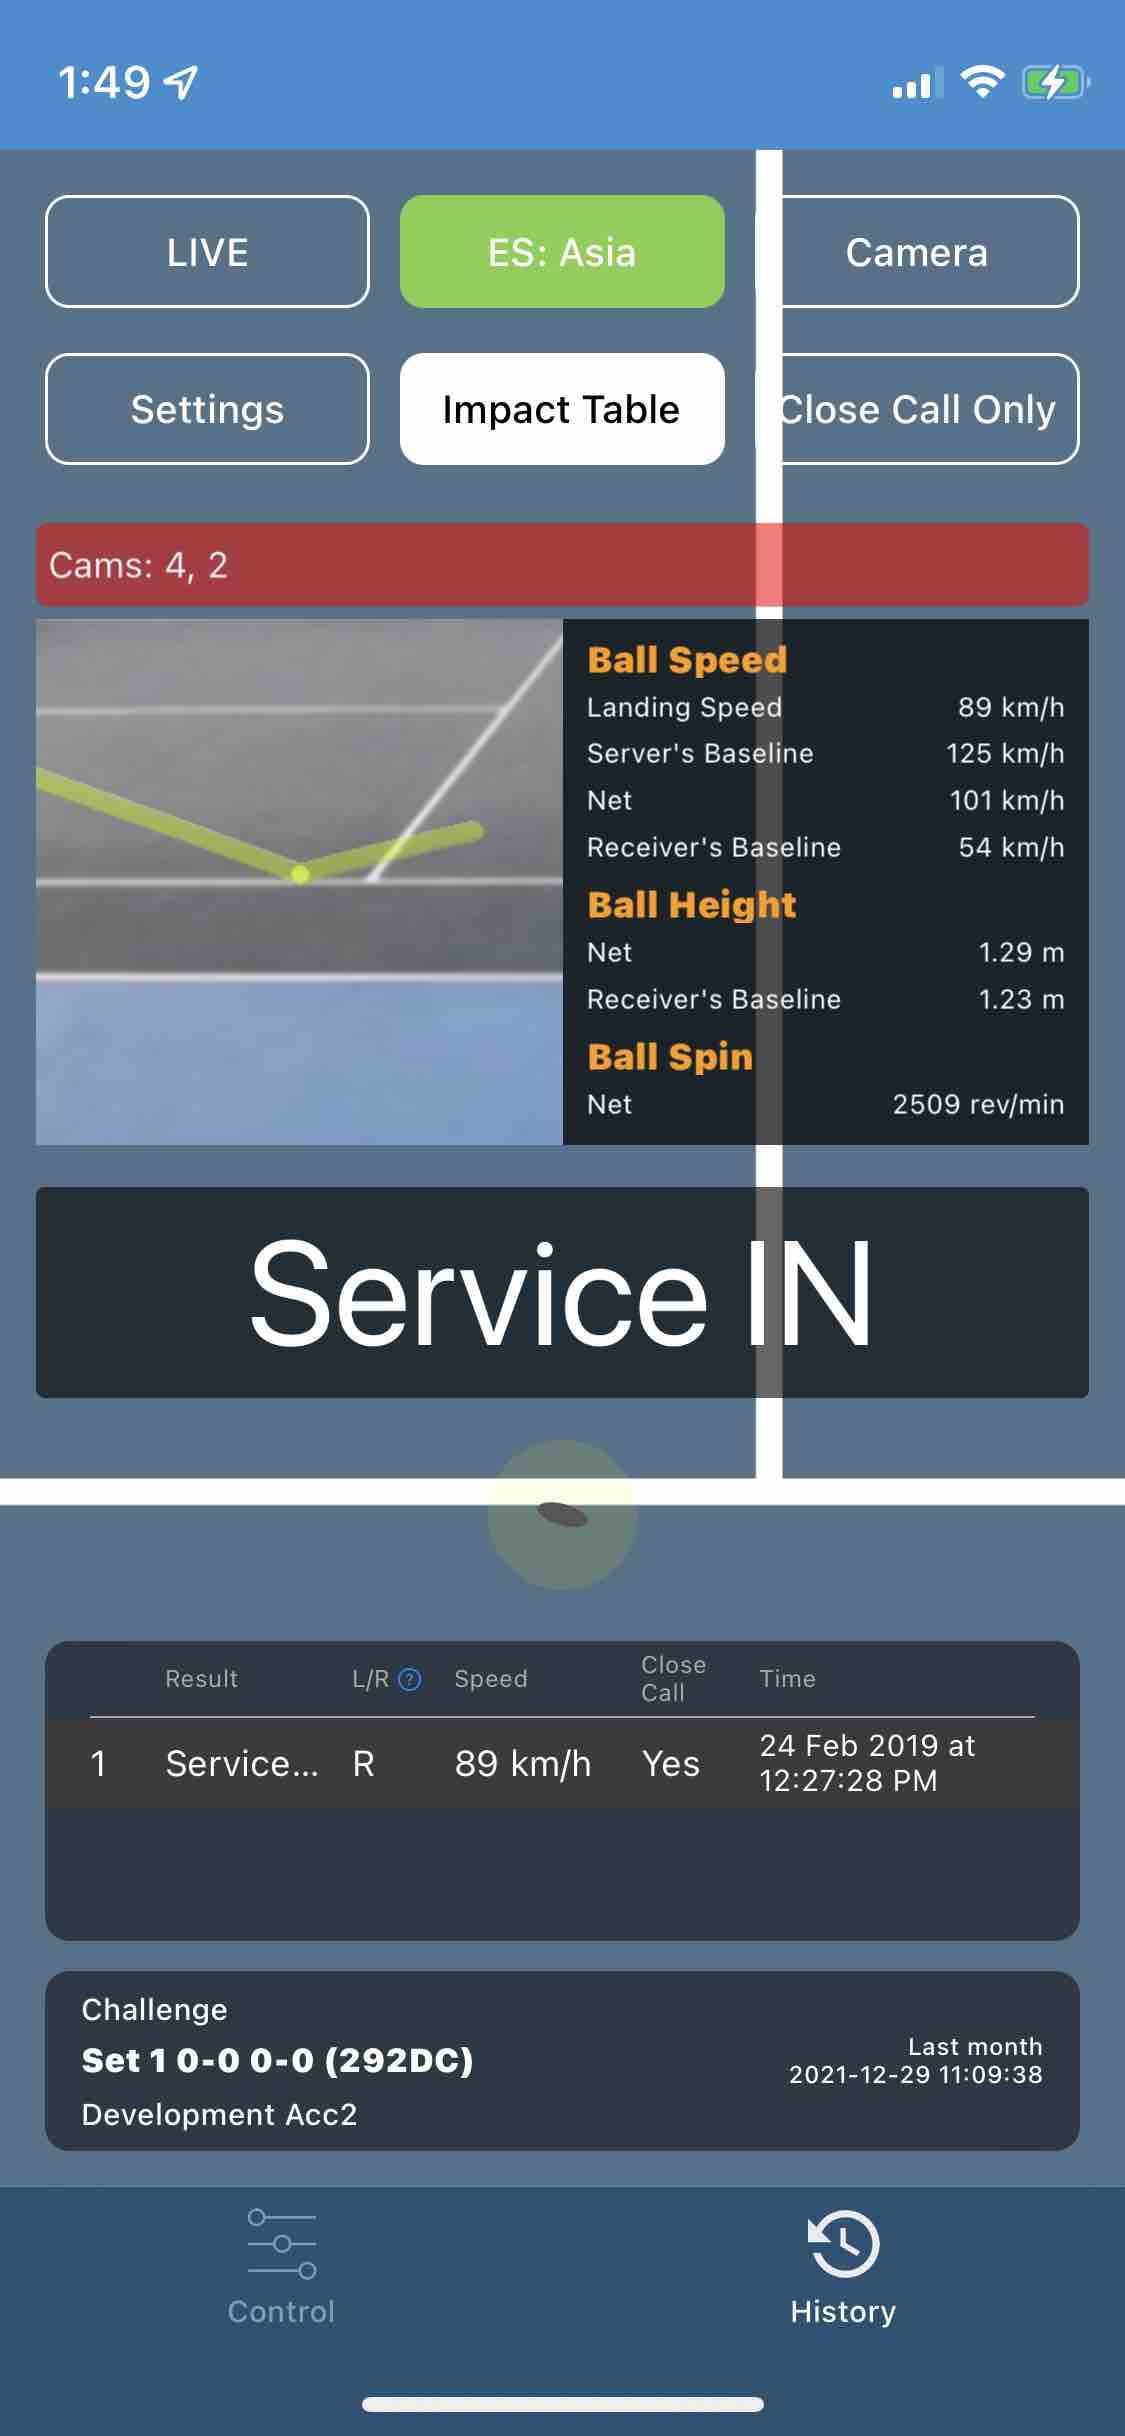
Challenge results and other trajectory analytics will be displayed in the History page. To initiate another challenge, click the Control tab at the bottom and repeat the challenge process.
Please visit the Tutorials page for more information about using eyes3.

